Most orchids do not “just bloom whenever.” They bloom when a few basic needs line up, especially light, a smart wet then almost dry watering rhythm, and a gentle seasonal signal like cooler nights. The good news is you can recreate that at home with simple, natural changes.
Throughout this guide, I’ll focus most on Phalaenopsis (moth orchids) since they are the most common grocery store and gift orchids. I’ll also note what changes for other types.
First, confirm your orchid is ready to rebloom
Orchids need a recovery period after flowering. If yours finished blooming recently, it may simply be resting.
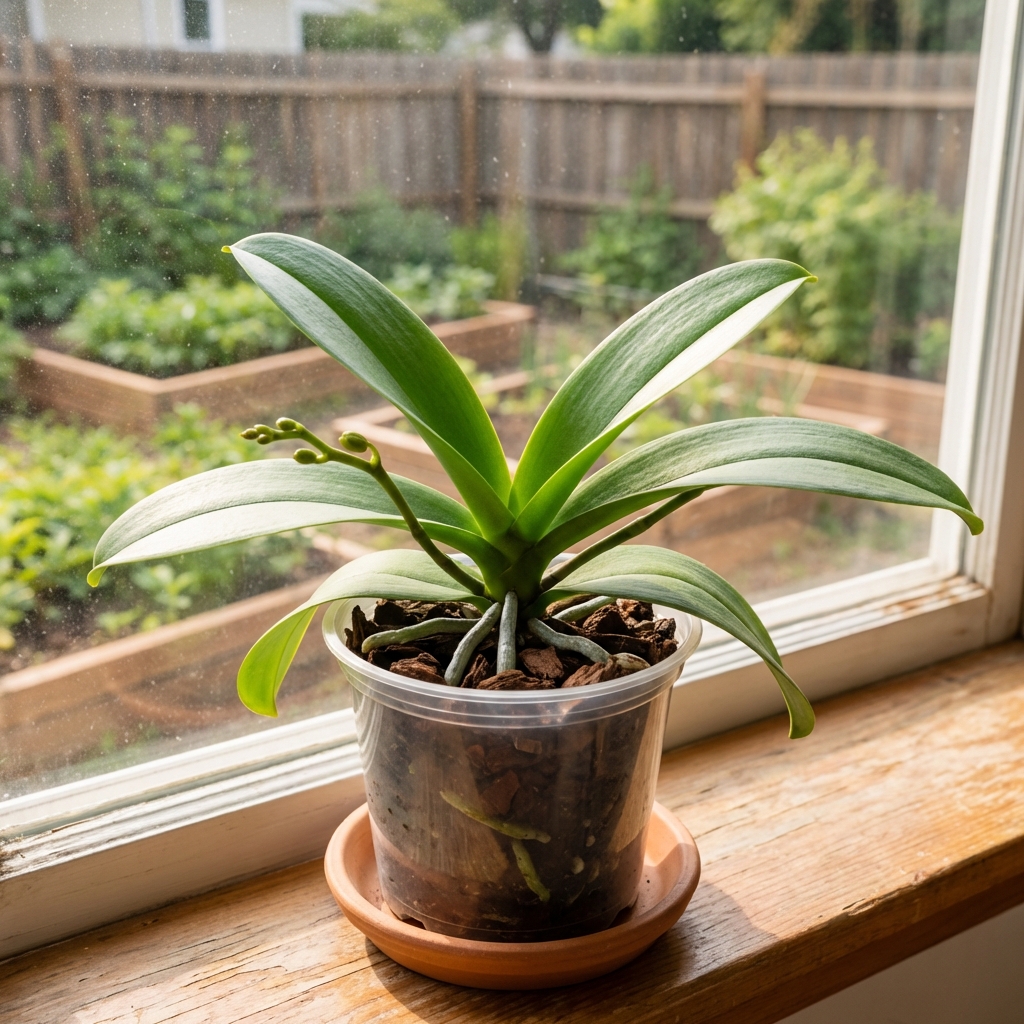
- Healthy leaves: firm, medium green (not dark forest green), no major wrinkles.
- Healthy roots: silvery when dry, green after watering. Mushy brown roots are a red flag.
- New growth: a new leaf or fresh root tips means the plant has energy to bloom again.
Also take a quick look for pests like mealybugs, scale, and spider mites. Even a small infestation can quietly drain a plant and delay blooming.
If the plant is weak, pushing for flowers can backfire. In that case, focus on roots and leaves first. Blooms follow health.
The most common natural trigger: brighter light
If an orchid grows leaves but never blooms, insufficient light is the most common reason. Many orchids survive in low light, but blooming takes more energy.
What good orchid light looks like
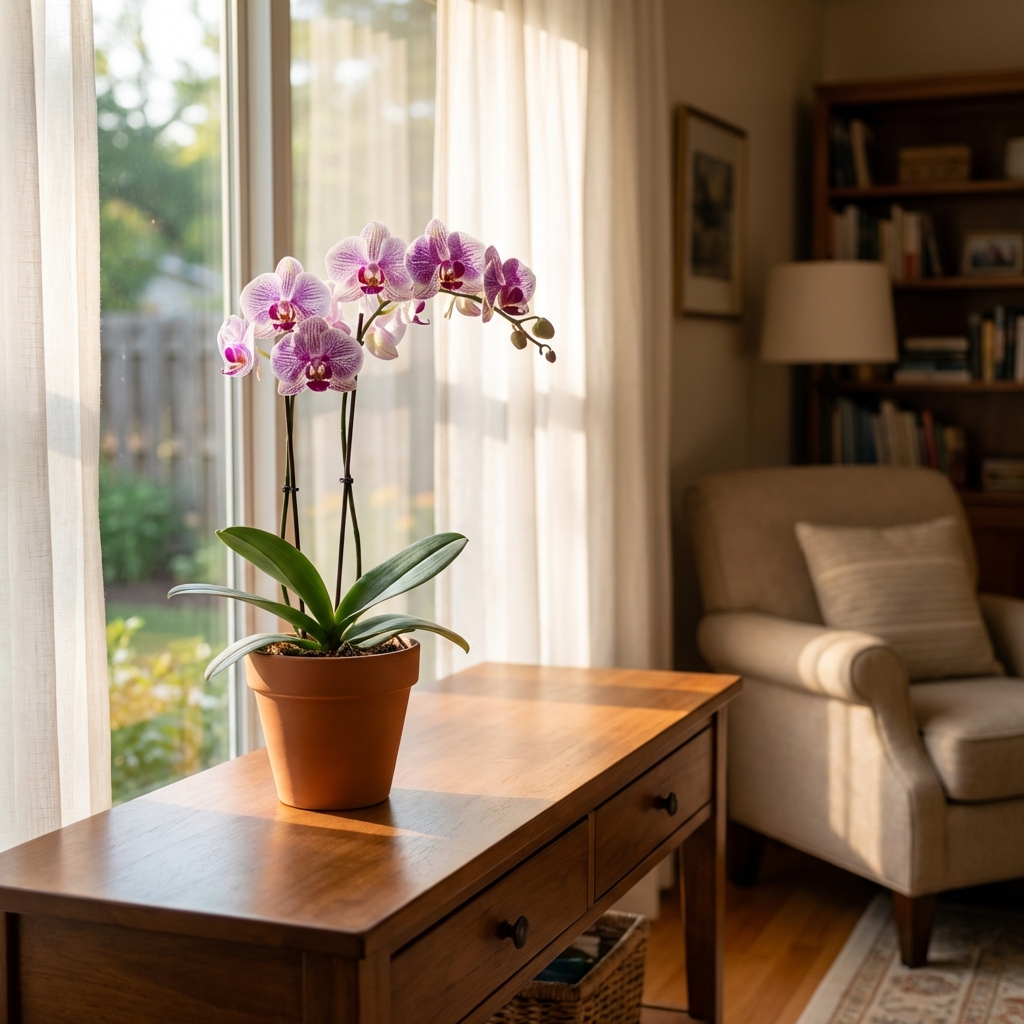
- Bright, indirect light: near an east window is ideal for Phalaenopsis.
- South or west window: works if filtered by a sheer curtain or set back from the glass.
- Simple test: it should be bright enough that you can read a book comfortably nearby without squinting.
- Leaf color clue: very dark green often means not enough light for blooming, but leaf color varies by hybrid and feeding.
- Too much light clue: yellowing, reddening, or bleached patches can mean the light is too intense.
Rotate the pot a quarter turn every week or two so the plant grows evenly, but once a flower spike is forming, keep the orientation steady so the spike does not twist toward the window.
A common bloom signal: cooler nights for 2 to 4 weeks
For Phalaenopsis, a small temperature drop often flips the switch from leaf growth to spike growth. You do not need anything extreme.
Easy, natural temperature plan (Phalaenopsis)
- Aim for 65 to 80°F days and 55 to 65°F nights for a few weeks.
- That 5 to 10°F difference is usually enough to encourage a spike, and some plants respond best when nights are closer to 55 to 60°F.
- Avoid prolonged temps below 55°F for typical household Phalaenopsis.
- Keep away from cold drafts or heating vents. Steady is better than dramatic.
A simple trick is placing the orchid near a slightly cooler window at night (not touching the glass), then returning it to its normal bright spot during the day.
Watering: the wet then airy dry rhythm
Orchids are not like houseplants in potting soil. Most common orchids are grown in bark or chunky mixes that need airflow. The goal is to water thoroughly, then let the mix approach dryness before watering again.
How to water correctly (simple method)
- Water in the morning so leaves dry by night.
- Take the pot to the sink and run room temperature water through the mix for 15 to 30 seconds.
- If water runs straight through and the bark looks dusty or water-repellent, soak the pot for 10 to 15 minutes, then drain well.
- Let it drain completely. Never leave the inner pot sitting in water.
- Water again when roots look silvery and the pot feels light.
Natural reality check: most indoor orchids land around every 7 to 10 days, but your home’s humidity, pot size, light level, and bark age can shift that to every 4 days or every 14.
Avoid these two common watering mistakes
- Ice cubes: cold shock is not a natural orchid condition and can damage roots over time.
- Water sitting in the crown: if water pools where leaves meet, blot it with a paper towel to prevent crown rot.
Natural feeding that supports blooms
Orchids do not need heavy fertilizing, but they do need some nutrients if they are going to bloom again. A gentle, consistent approach works better than occasional strong doses.
Simple feeding routine
- Use an orchid fertilizer and mix it at 1/4 strength.
- Feed every 2 to 4 weeks during active growth.
- Once a month, flush the pot with plain water to wash out built-up salts.
Natural options and what to watch out for
If you prefer a more natural route, focus on low-dose, consistent nutrition and avoid anything that rots in the pot.
- Worm castings tea (very dilute): can be used occasionally, but keep it light and make sure the potting mix stays airy.
- Avoid banana peels and kitchen scraps in the pot: they attract fungus gnats and break down poorly in bark.
Humidity and airflow: prevent bud drop
Orchids like humidity, but they also need airflow. The sweet spot helps prevent bud drop (bud blast), wrinkly leaves, and fungal issues.
- Humidity target: around 40 to 60% works well for many homes.
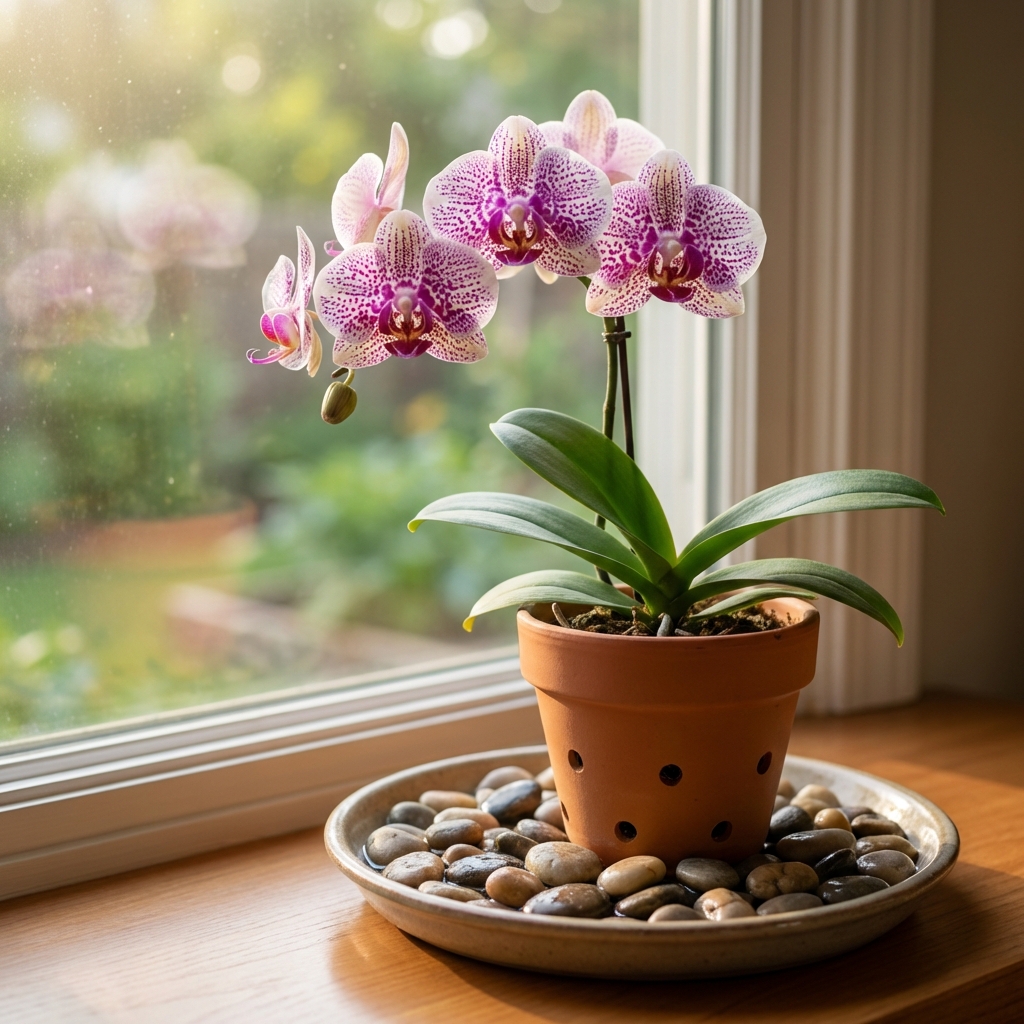
- Natural humidity boost: use a pebble tray with water under the pot (pot sits on pebbles, not in water). This helps most as a small local boost right around the plant.
- If your home is very dry: if humidity drops below about 35% in winter, a small humidifier is usually more effective than a pebble tray.
- Airflow: a small fan across the room on low is often enough.
Pruning after blooms: what to do with the spike
Spike care depends on the orchid type and the condition of the spike.
For Phalaenopsis (moth orchid)
- If the spike turns brown and dry, cut it off near the base with clean scissors.
- If the spike stays green, you have two options:
- Trim above a node: cut about 1/2 inch above a visible node to encourage a side branch and possible quicker rebloom.
- Cut it down: encourages the plant to rest and often leads to a stronger spike later.
When a plant is small or stressed, I usually cut the spike down and let it rebuild energy.
For other orchids
- Cattleya: blooms come from new growth (new pseudobulbs). Older pseudobulbs generally will not rebloom, but they still help power the plant.
- Dendrobium: some types bloom on canes that look “old,” so do not remove canes unless they are dead.
Repotting: a natural reset
If bark mix has turned soggy or sour, roots struggle and blooming becomes unlikely. Repotting is not a bloom trick, but it often removes the biggest barrier to a rebloom.
Signs it is time to repot
- The mix stays wet for too long or smells musty.
- Roots are crowded and circling tightly with little airflow.
- You see many dead, hollow, or mushy roots.
Typical cadence: with bark-based mixes, repotting is often needed about every 1 to 2 years, depending on watering, warmth, and how quickly the mix breaks down.
Repot basics
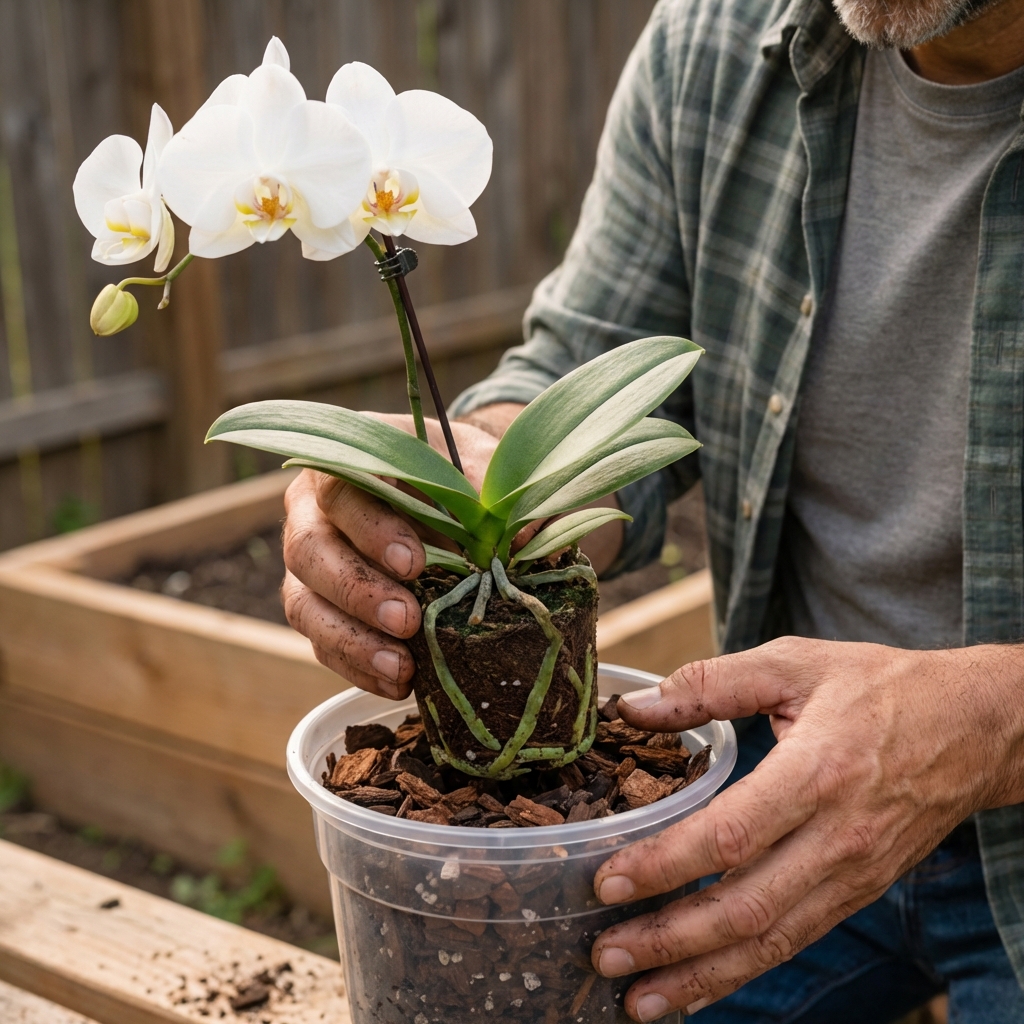
- Repot after flowering, or when new roots begin.
- Use a chunky orchid bark mix and a pot with plenty of drainage.
- Trim only dead roots. Healthy roots are firm.
Why an orchid will not bloom again
It only grows leaves
- Likely cause: not enough light.
- Fix: move to brighter indirect light for 3 to 6 weeks.
It grows a spike but no buds form
- Likely cause: stress from inconsistent watering, low light, or temperature swings.
- Fix: stabilize care and avoid moving it around once spiking.
Buds form then drop (bud blast)
- Likely causes: dry air, drafts, heater vents, sudden moves, ethylene from ripening fruit nearby, and sometimes smoke or gas appliance fumes.
- Fix: increase humidity modestly, keep away from fruit bowls, and keep conditions steady.
Wrinkled leaves
- Likely cause: root issues or underwatering.
- Fix: check roots, adjust watering rhythm, consider repotting.
Natural rebloom timeline
Orchids teach patience. Here is a realistic timeline for many Phalaenopsis when conditions are right:
- 2 to 6 weeks: you may see a new flower spike start.
- 8 to 12+ weeks: buds develop and begin opening.
- Bloom duration: often 6 to 12 weeks indoors.
If your orchid does not respond, it is usually not “being stubborn.” It is missing one key input, usually light or healthy roots.
Quick natural checklist
- Move to brighter indirect light and watch for signs of too much sun.
- Give cooler nights for a few weeks.
- Water thoroughly, then let bark get close to dry before watering again.
- Feed lightly at 1/4 strength and flush monthly.
- Keep humidity moderate with airflow, avoid drafts and fruit bowls.
- Repot if the mix is old or roots are struggling.

Jose Brito
I’m Jose Britto, the writer behind Green Beans N More. I share practical, down-to-earth gardening advice for home growers—whether you’re starting your first raised bed, troubleshooting pests, improving soil, or figuring out what to plant next. My focus is simple: clear tips you can actually use, realistic expectations, and methods that work in real backyards (not just in perfect conditions). If you like straightforward guidance and learning as you go, you’re in the right place.