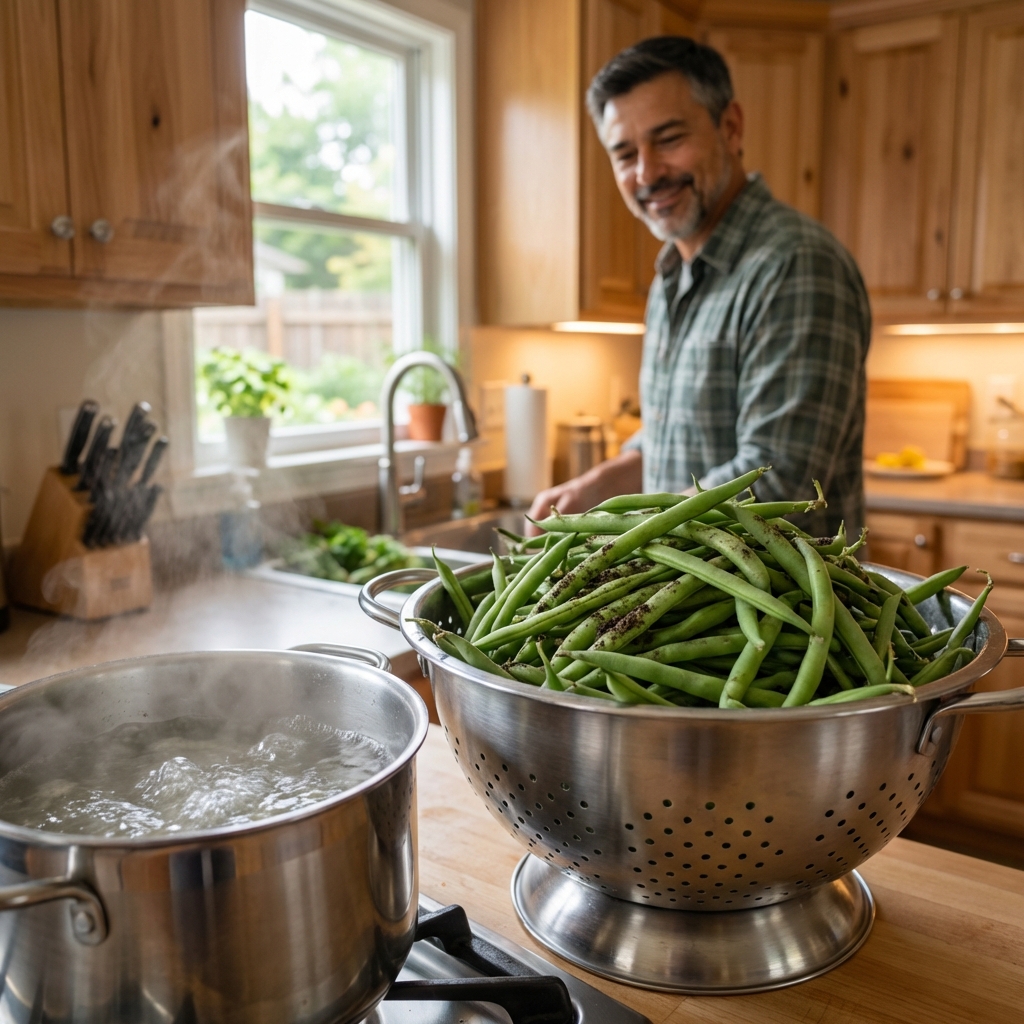
If you grow green beans, you already know the problem: they come in fast, and they come in waves. Freezing is the easiest way to keep that harvest from turning into compost guilt.
But there is one step you do not want to skip if you care about taste and texture: blanching . It takes a few minutes, and it makes a huge difference in how your beans look and eat months from now.
Quick answer: Can you freeze green beans without blanching?
You can, but I do not recommend it unless you plan to use them up quickly.
- Without blanching: beans tend to get tougher, duller in color, and develop off flavors faster in the freezer.
- With blanching: beans keep better color, better flavor, and a more pleasant texture.
Blanching briefly heats the beans to slow the enzymes that keep “aging” your produce even in the freezer.
Best beans to freeze (and when to pick)
For the best frozen green beans, start with beans that are at their prime. Older, overgrown beans freeze fine, but they thaw fibrous and a bit chewy.
What to look for
- Firm and crisp, not rubbery
- Smooth pods with small seeds inside (not bulging)
- Bright green, no yellowing or soft spots
Tip from the garden
Pick in the morning if you can. Beans are usually more hydrated and crisp, which helps them hold up better through blanching and freezing.
How to freeze green beans (step-by-step)
This is the method that consistently gives the best results in a regular home kitchen.
1) Wash and trim
Rinse the beans well, then trim the stem end. The tail end is optional, but I usually leave it unless it is tough.
Cut to the length you like for cooking later (whole, halves, or 1 to 2 inch pieces).
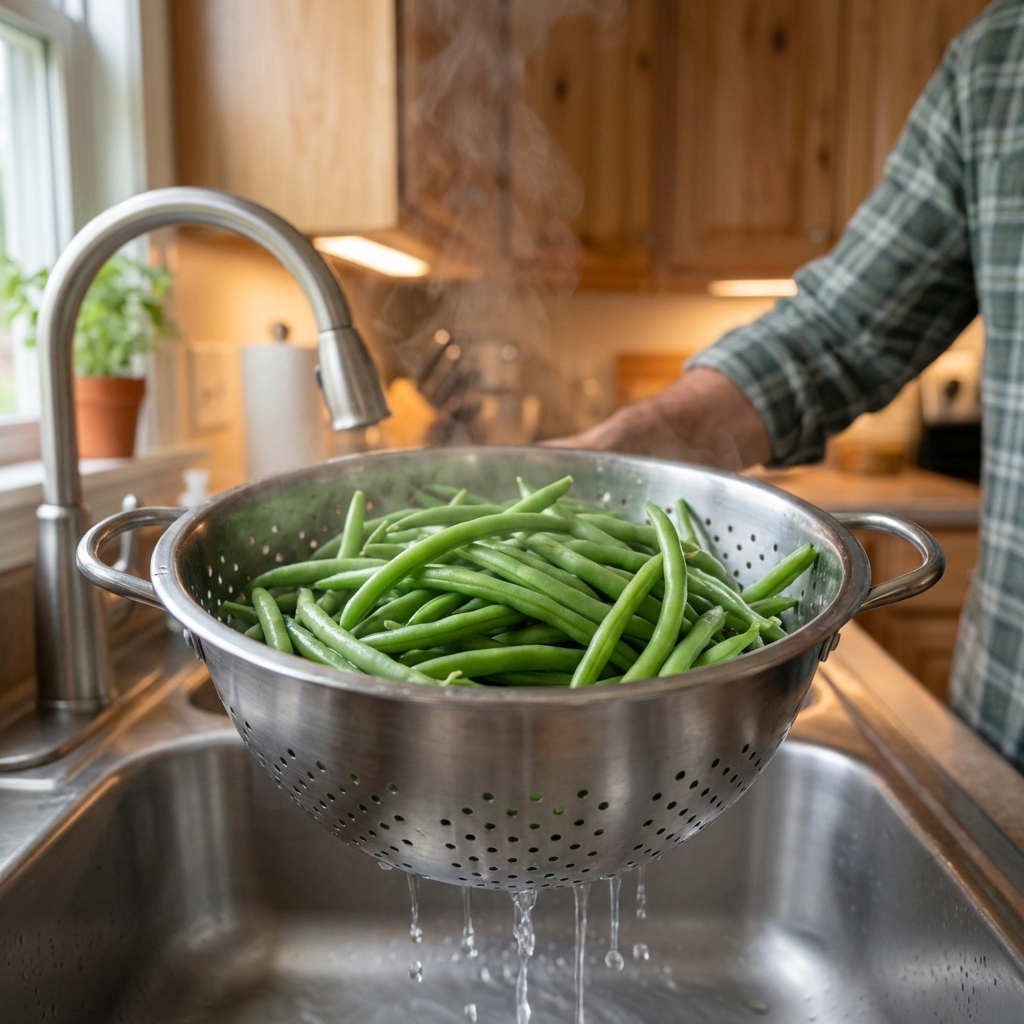
2) Set up your blanching station
- A large pot of water (more water keeps the boil steady)
- A big bowl of ice water (ice bath)
- A colander or strainer
- Clean towels or a salad spinner to dry the beans
3) Blanch
Bring water to a rolling boil. Add beans in batches so the water returns to a boil quickly.
- Whole green beans: blanch for 3 minutes
- Cut/short pieces: blanch for 2 minutes
Start timing once the water returns to a strong boil.
4) Ice bath (do not skip this)
Immediately move the beans into ice water for about the same amount of time you blanched them. This stops the cooking so they do not turn soft later.
5) Dry well
Drain thoroughly and pat dry. Extra surface water turns into ice crystals, which can lead to freezer burn and soggy beans.
Best way to pack green beans for the freezer
You have two good options depending on how you like to cook.
Option A: Tray-freeze first (best for grab-and-go)
Spread dried beans in a single layer on a baking sheet lined with parchment. Freeze 1 to 2 hours, then transfer to freezer bags or containers.
This keeps them from freezing into one solid brick.
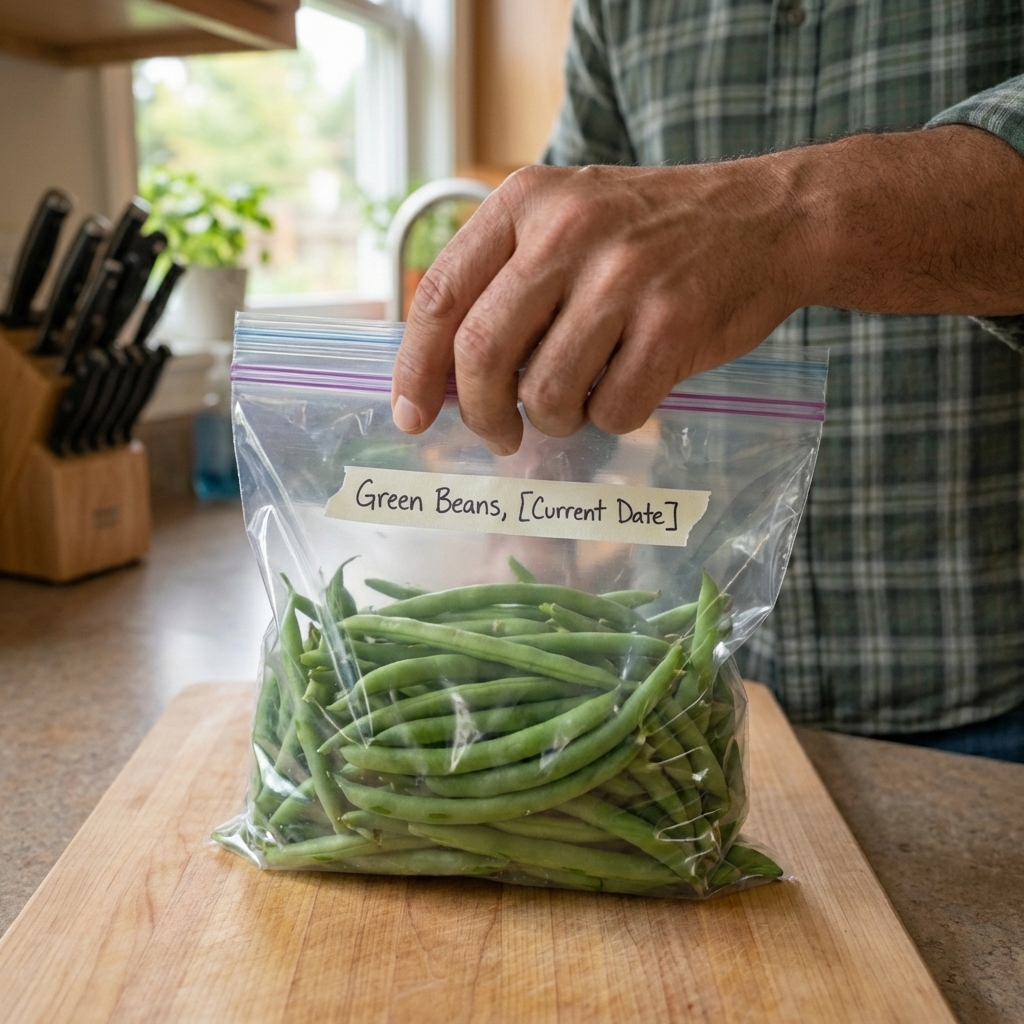
Option B: Portion and pack (fastest)
Pack beans into meal-size portions right away. Press out as much air as possible before sealing.
Bag and container tips
- Freezer bags work great. Push out air and lay flat to freeze for easier stacking.
- Rigid containers protect from crushing, but leave a little headspace.
- If you have a vacuum sealer, this is one of the best foods to use it on.
Label with the date and quantity. Future-you will thank you.
How long do frozen green beans last?
For best quality, use frozen green beans within 8 to 12 months.
- 0°F / -18°C is the target freezer temp.
- They are usually still safe beyond a year if kept consistently frozen, but flavor and texture slowly drop off.
How to cook frozen green beans (without turning them mushy)
Frozen green beans are already partially cooked from blanching. The goal is to heat them through without overcooking.
Easy methods
- Stovetop sauté : Add to a hot pan with a little oil or butter. Cook 5 to 8 minutes, stirring occasionally.
- Steam: Steam 4 to 6 minutes, then season.
- Roast : Spread on a sheet pan, lightly oil, roast at 425°F for 15 to 20 minutes. Stir once halfway through.
- Soups and stews: Add near the end since they soften quickly.
I usually cook them straight from frozen. Thawing can make them limp unless you are using them in something like soup.
Troubleshooting: common freezing problems
“My beans are soggy after thawing.”
- Blanching time was too long, or they sat in hot water too long.
- They were not cooled fast enough in the ice bath.
- They were overcooked during reheating.
“They have white, dry spots.”
That is freezer burn. It usually comes from air exposure or excess time in the freezer.
- Use freezer-grade bags or vacuum seal.
- Press out air and seal well.
- Do not store in the door where temps swing.
“They turned olive-green.”
This can happen if the beans were overmature, overblanched, or cooled slowly. They are still usable, just less appealing.
FAQ
Do I need salt in the blanching water?
No. Salt is optional and does not replace blanching. Plain boiling water works fine.
Can I freeze wax beans or purple beans the same way?
Yes. Use the same blanch times. Purple beans typically turn green when blanched, which is normal.
How many pounds fit in a quart bag?
As a rough guideline, 1 to 1.25 pounds of cut beans fits in a quart freezer bag, depending on how tightly you pack them.
My simple “batch day” routine
If you are freezing a lot at once, this flow keeps things moving:
- Set up ice bath and towels first
- Wash and trim a big bowl of beans
- Blanch in batches while you trim the next batch
- Cool, drain, dry
- Tray-freeze if you want loose beans, then bag
It is not fancy, but it is reliable, and it turns a busy harvest week into easy meals later.

Jose Brito
I’m Jose Britto, the writer behind Green Beans N More. I share practical, down-to-earth gardening advice for home growers—whether you’re starting your first raised bed, troubleshooting pests, improving soil, or figuring out what to plant next. My focus is simple: clear tips you can actually use, realistic expectations, and methods that work in real backyards (not just in perfect conditions). If you like straightforward guidance and learning as you go, you’re in the right place.