Snake plants (formerly Sansevieria, now commonly classified under Dracaena, and still often sold as “Sansevieria”) are famous for surviving neglect. But if you want a plant that looks crisp and upright, not just “still alive,” the secret is simple: bright enough light, fast-draining soil, and a watering rhythm that respects how slowly they use moisture indoors.
What snake plants want indoors
Think of snake plants as drought-tolerant, dry-habitat adapted houseplants. Their thick leaves store water, and indoors they grow slowly. That means most problems come from doing too much, especially watering too often.
- Light: adaptable, but grows best in bright indirect light
- Soil: airy and fast-draining, never dense or soggy
- Water: deep but infrequent, with full dry-down between waterings
- Temperature: comfortable home temps, protected from cold drafts and cold windowsills
Pet safety
Snake plants are toxic to cats and dogs if chewed or ingested. They can cause drooling, vomiting, and stomach upset. If you have curious pets, place the plant out of reach or choose a pet-safe alternative.
Light: start here
Snake plants tolerate low light, but tolerance is not the same as thriving. In low light, they usually grow slower, stay wetter longer after watering, and are more likely to rot.
Best placement
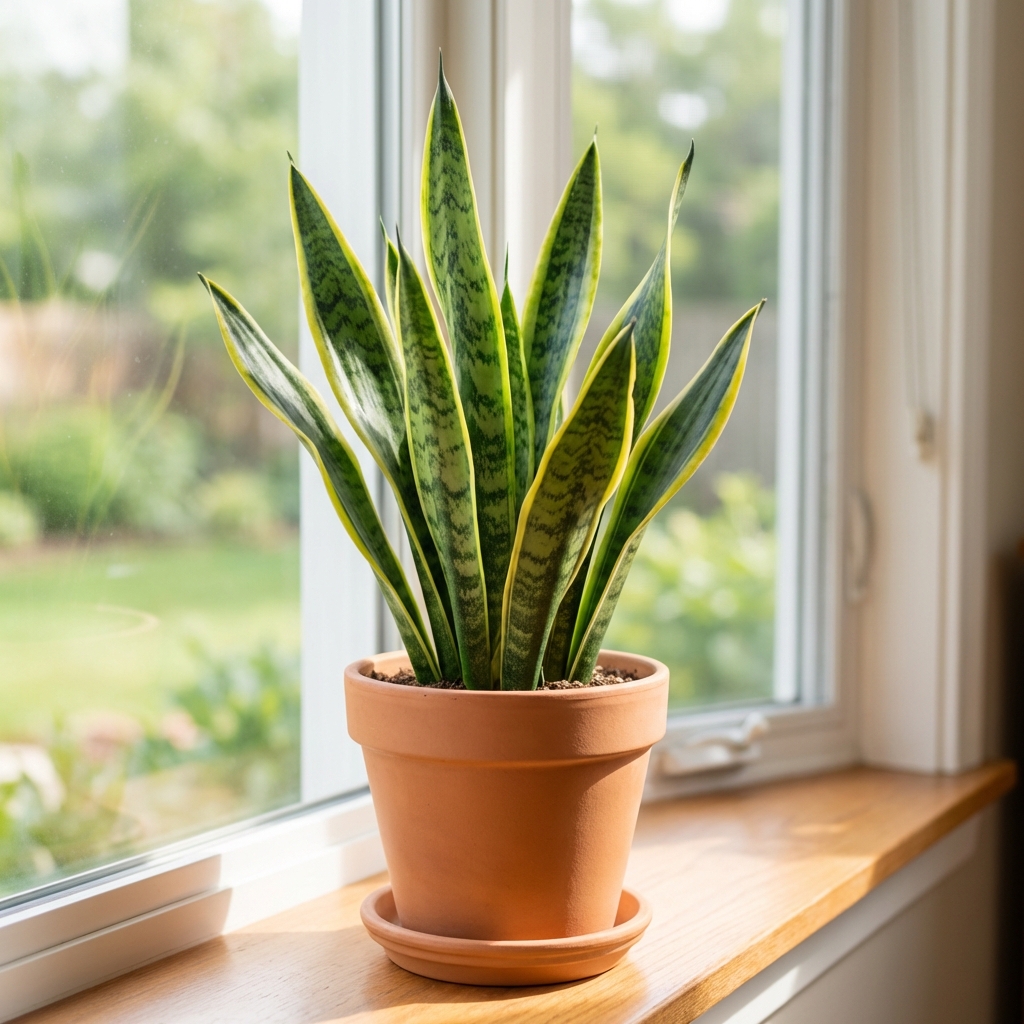
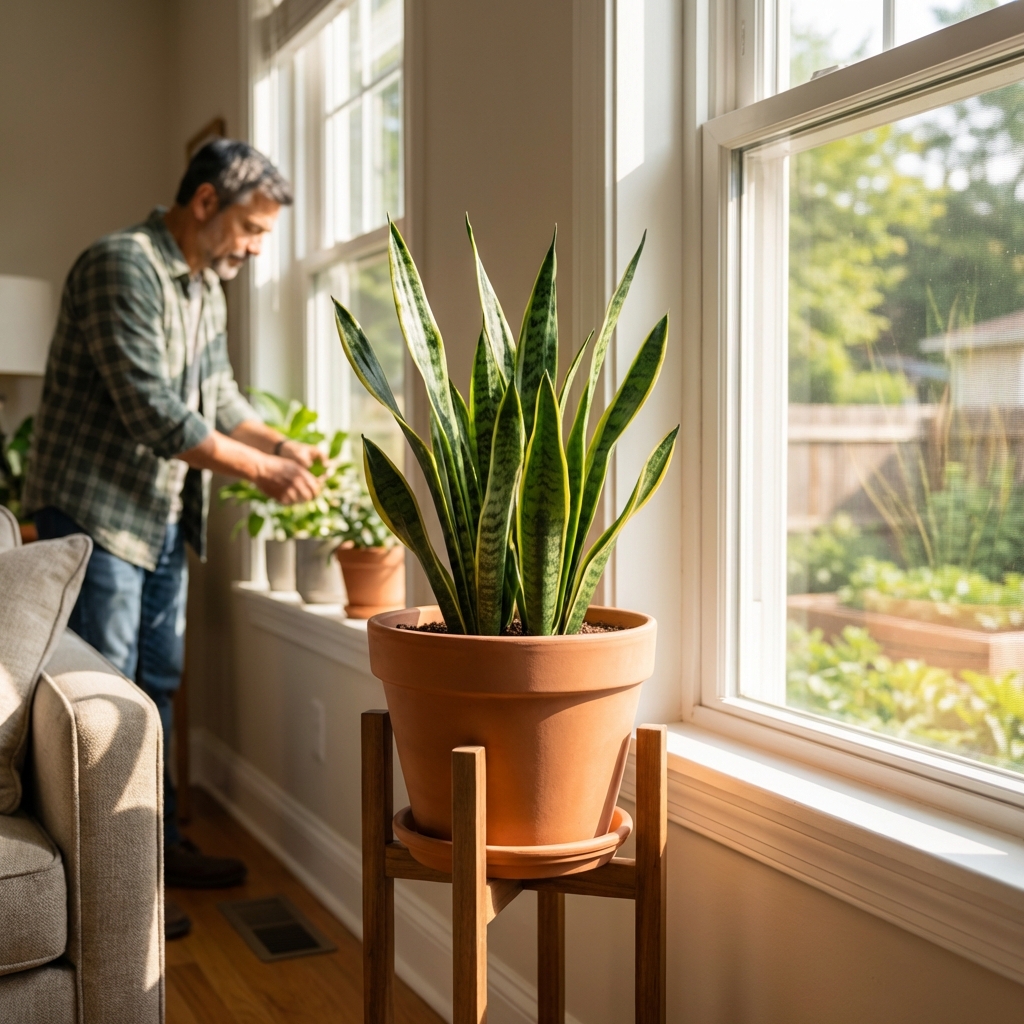
- Ideal: bright indirect light, often near an east window, or close to a bright south or west window with some diffusion (sheer curtain, blinds, or a few feet back)
- Works: a bright north window (if it is truly bright), or a low-light corner if you water much less
- Use caution: harsh, all-day direct sun through glass can scorch leaves
Good news: Snake plants can handle some direct sun if you acclimate them slowly over 1 to 2 weeks. Beginners are usually safest sticking to bright indirect light.
Watering: wait until it is truly dry
Key rule that prevents most snake plant issues: do not water until the pot is dry most of the way down. Not just the top inch. Indoors, the surface can look dry while the lower half is still wet.
A simple way to check
- Use a clean wooden chopstick or skewer and push it near the edge of the pot.
- If it comes out with damp soil stuck to it, wait.
- If it comes out mostly clean and dry, you are safe to water.
How to water correctly
- Water slowly until it runs out of the drainage holes.
- Let it drain fully. Do not leave the pot sitting in a saucer of water.
- If you use a cachepot, keep the plant in its inner nursery pot. Lift it out to water, let it drain, then return it.
Seasonal rhythm
- Spring and summer: often every 2 to 4 weeks, depending on light and pot size
- Fall and winter: often every 4 to 8 weeks, sometimes longer in low light
If you are unsure, wait a few more days. Snake plants handle dryness far better than wet feet.
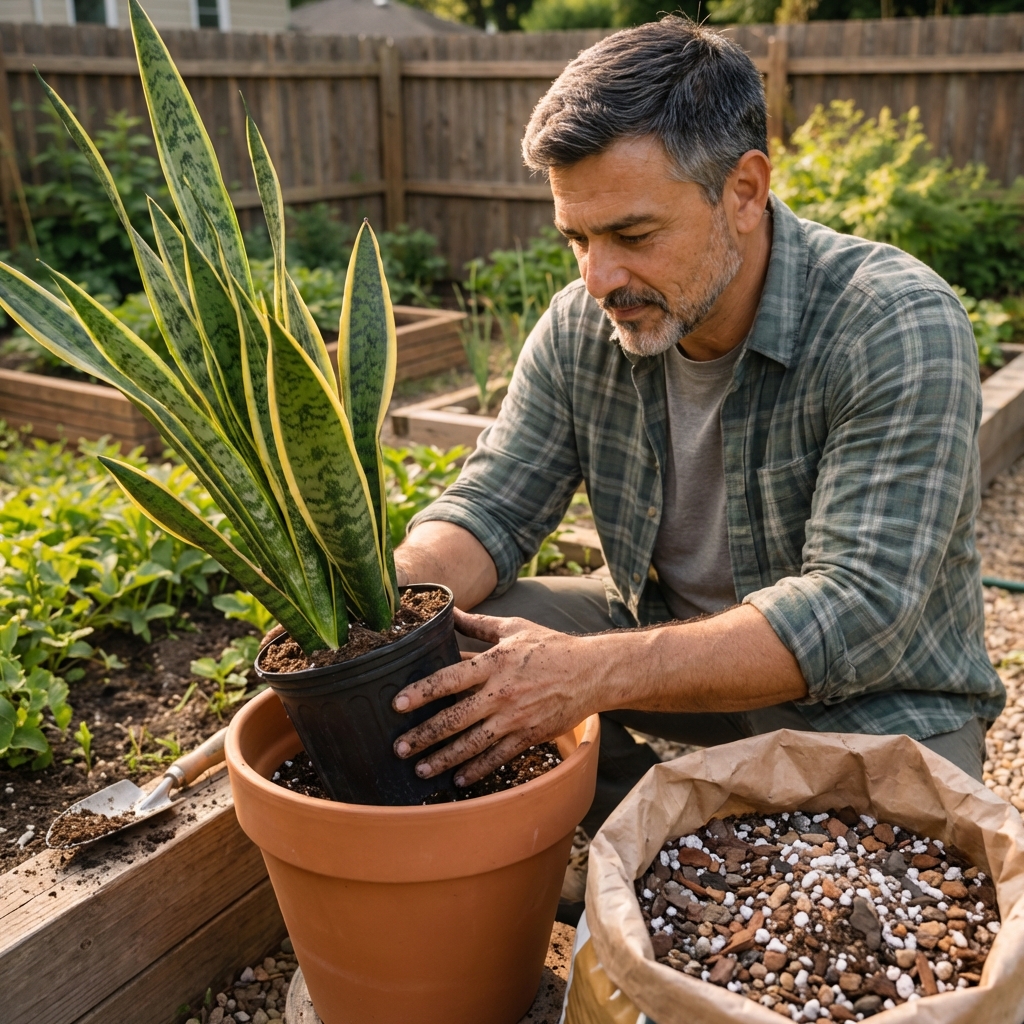
Soil and pot setup
If your snake plant is in heavy potting soil that stays damp for days, “effortless care” is going to feel impossible. The goal is a mix that dries evenly and lets roots breathe.
An easy organic-friendly mix
- 2 parts quality potting mix (peat-free if you can find it)
- 1 part perlite or pumice (for air and drainage)
- 1 part orchid bark or pine bark fines (keeps mix chunky and breathable)
Pot choice
- Drainage holes are non-negotiable.
- Terracotta helps soil dry faster, great if you tend to overwater.
- Plastic holds moisture longer, fine if you are consistent and light is bright.
Organic fixes for common problems
1) Mushy base, yellowing, or a bad smell (root rot)
This is nearly always too much water, not enough light, or soil that holds moisture too long.
- Unpot the plant and inspect roots.
- Trim off mushy roots and any soft, collapsing leaf bases with clean scissors.
- Let the plant air-dry for a few hours to a day.
- Repot into a dry, fast-draining mix.
- Wait about a week before watering again, then water lightly.
Optional note: Some people dust cuts lightly with cinnamon. Evidence is limited and it can be irritating if overused, so keep it minimal. The real fix is dryness, airflow, and better drainage.
2) Wrinkled, curling leaves (underwatering or root issues)
Wrinkles can mean it is too dry, or it can mean roots are damaged and not taking up water.
- If the pot is bone-dry and the plant feels light, water deeply and let it drain.
- If soil is not that dry but leaves wrinkle, check roots for rot and repot if needed.
3) Brown tips
Brown tips are common and not usually serious.
- Most often from inconsistent watering, very dry indoor air, or mineral buildup.
- Trim tips with clean scissors, following the natural point of the leaf.
Organic tip: If your tap water is hard, flush the pot with room-temperature water every few months or use filtered water for regular watering.
4) Fungus gnats
Gnats mean the soil is staying moist too long. Snake plants are not gnat magnets unless conditions are wet.
- Let soil dry longer between waterings.
- Top-dress with a thin layer of coarse sand or fine orchid bark to discourage egg laying.
- Use yellow sticky traps to catch adults.
5) Spider mites or mealybugs
These show up more often on stressed plants or in very dry indoor air.
- Wipe leaves with a damp cloth first. Physical removal does a lot.
- Spot-treat with insecticidal soap or a diluted castile soap spray. Test on one leaf first.
- Repeat every 5 to 7 days for a few rounds to catch new hatchlings.
Note: Neem oil can work, but indoors it can be smelly and may cause leaf spotting if mixed too strong or used in bright light. If you use it, keep dilution mild and avoid direct sun until leaves are dry.
Fertilizer: less is better
Snake plants do not need heavy feeding indoors. Over-fertilizing can cause weak growth and salt buildup.
- When: spring through early summer
- How often: every 6 to 8 weeks at half strength
- What: a balanced organic liquid fertilizer, or a light top-dress of worm castings
Skip fertilizer in winter when growth slows.
Repotting and division
Snake plants like being slightly snug in their pots. Repot when roots circle heavily, the plant is top-heavy, or the pot is bulging.
Best time
Late spring to summer, when the plant can recover faster.
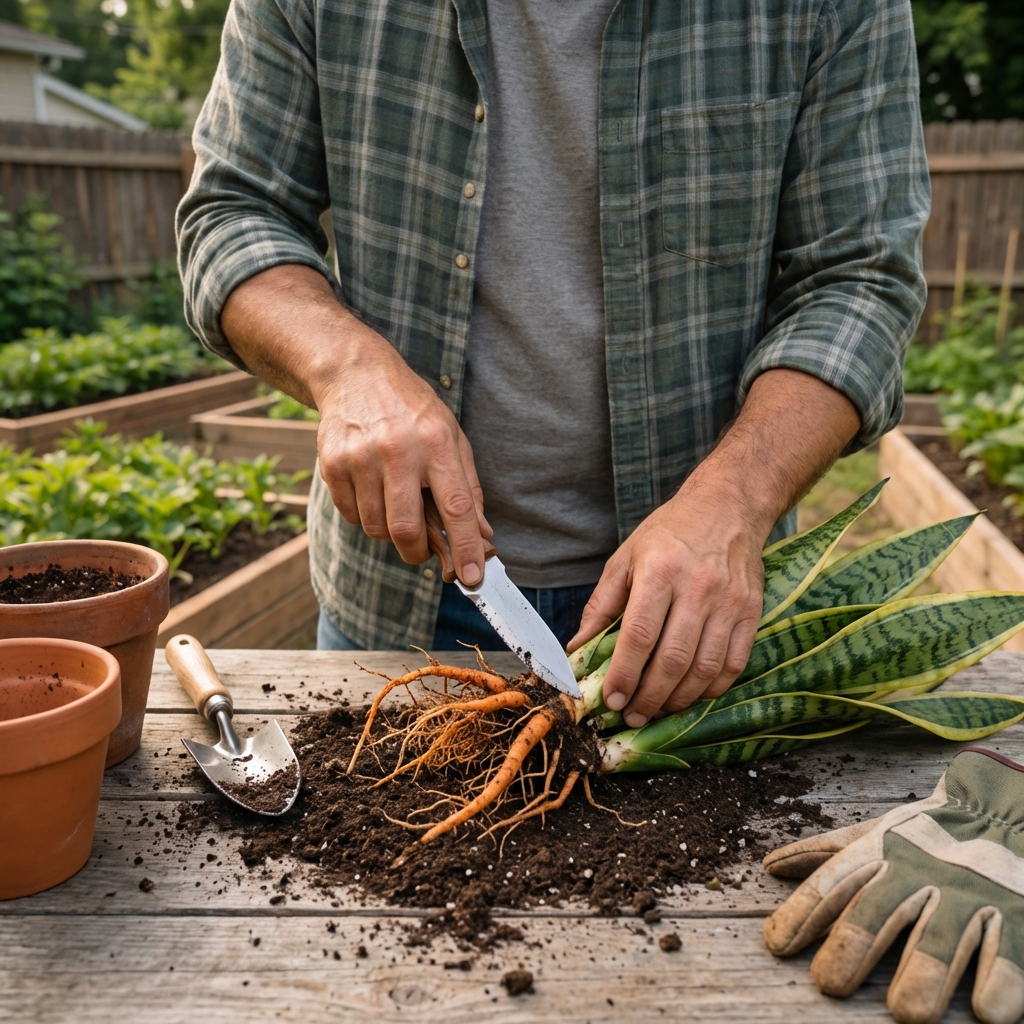
Quick division method
- Slide the plant out and find natural clumps of rhizomes (thick underground stems).
- Cut between clumps with a clean knife.
- Pot divisions into dry, chunky mix.
- Wait several days to a week before the first watering.
Propagation note: Leaf cuttings can work, but variegated varieties often revert to green. Division is the easiest way to keep the same look.
Fast troubleshooting
- Leaves falling over: low light, overwatering, or too small a root system for a tall variety
- Soft leaf bases: rot, dry out and repot immediately
- Leaves pale and stretched: needs brighter light
- No growth for months: normal in winter or low light, or the plant is rootbound and ready to divide
- Cold damage: limp, translucent patches after chills, move to warmer spot and keep dry; avoid sustained temps below about 50 to 55°F (10 to 13°C)
The simplest routine
If you want a snake plant that basically takes care of itself, do this:
- Put it in bright indirect light.
- Use a fast-draining mix in a pot with drainage holes.
- Water only when mostly dry, then water deeply and drain.
- Wipe dust off leaves occasionally to help light absorption and spot pests early.
- Feed lightly in spring and early summer, or skip feeding entirely.
That is it. Snake plants reward consistency and restraint. The less you fuss, the better they usually look.

Jose Brito
I’m Jose Britto, the writer behind Green Beans N More. I share practical, down-to-earth gardening advice for home growers—whether you’re starting your first raised bed, troubleshooting pests, improving soil, or figuring out what to plant next. My focus is simple: clear tips you can actually use, realistic expectations, and methods that work in real backyards (not just in perfect conditions). If you like straightforward guidance and learning as you go, you’re in the right place.