Small tree stumps can be annoying, but they are also a chunk of stored carbon and organic matter sitting in your yard. The most eco-friendly approach is the one that fits your timeline and your body: remove it with hand tools if you need the space now, or help it break down faster if you can wait. Either way, you can protect your soil and set the area up for healthy replanting.
Before you start: safety and quick stump check
Even small stumps can surprise you with roots that run farther than expected. Spend two minutes checking these basics first.
- Confirm it is truly dead. Some species often resprout or sucker from stumps and roots (willow, poplar, elm, locust, tree-of-heaven, and some fruit trees). If you see new shoots, cut them promptly and keep cutting as they appear. On aggressive sprouters, it can take a season or more of persistence to fully exhaust the root system.
- Call before you dig. In the US, dial 811 before any digging so underground utilities can be marked. It is required in many places and a smart safety step everywhere, even for shallow projects.
- Wear basic PPE. Gloves and eye protection go a long way, especially when chopping roots or using a saw near soil and stones.
- Measure stump size. These methods work best for stumps roughly under 6 to 8 inches in diameter. Bigger than that often shifts you toward a winch, grinder, or pro help.
- Know what you will plant next. If you want to plant a tree in the same spot, you will want more root removal than if you are making a flower bed.
- Know when to call a pro. If the stump is tight to a foundation, next to a retaining wall, in a dense utility corridor, or you cannot safely swing tools, pro help can be the most eco-friendly choice because it prevents damage and repeat work.
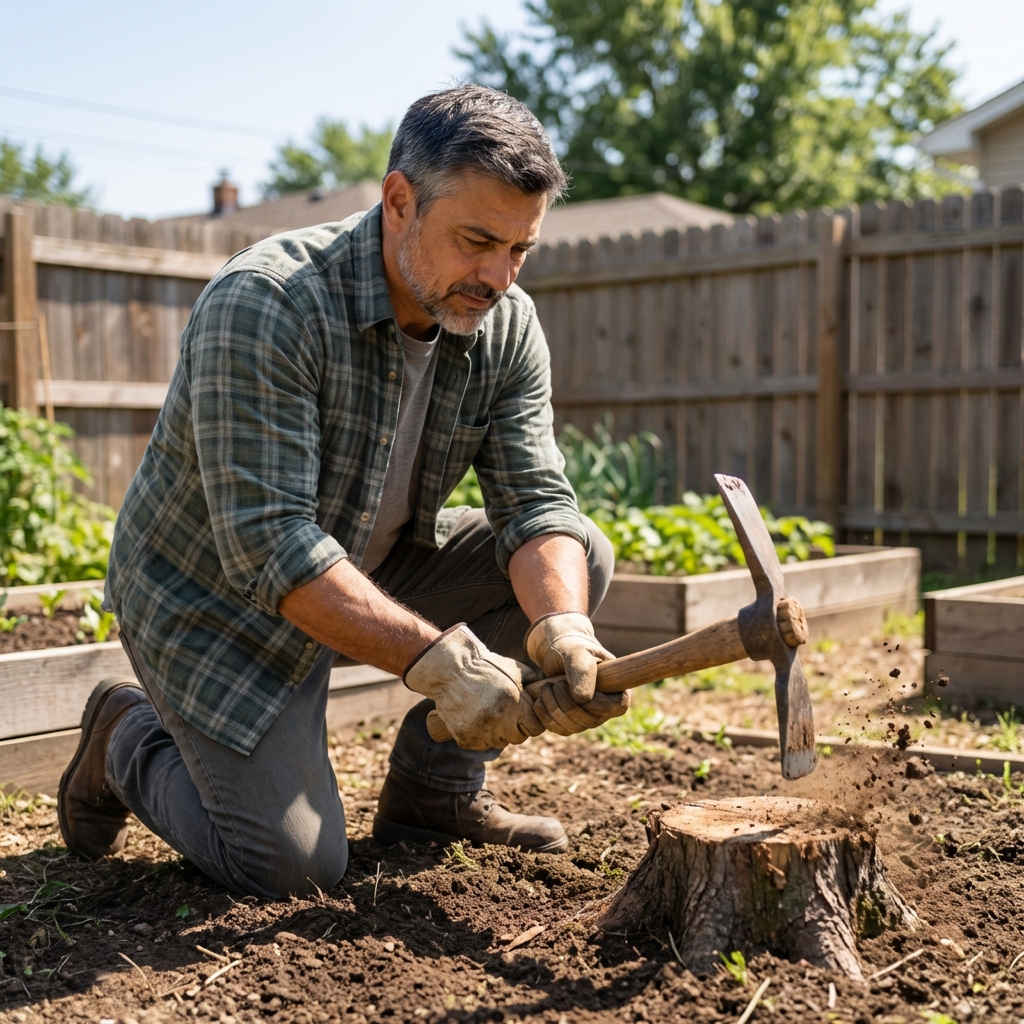
Option 1: Dig it out by hand (fastest and chemical-free)
If you want the stump gone this weekend and it is small enough, digging is the most direct chemical-free method. It does disturb the soil, but you can immediately rebuild it afterward.
Tools that make it easier
- Mattock or grub hoe
- Shovel and a narrow trenching spade
- Hand saw or pruning saw
- Loppers for smaller roots
- Garden hose or a bucket for soaking dry soil
Step-by-step
- Soak the area the day before if the ground is dry. Moist soil releases roots more easily.
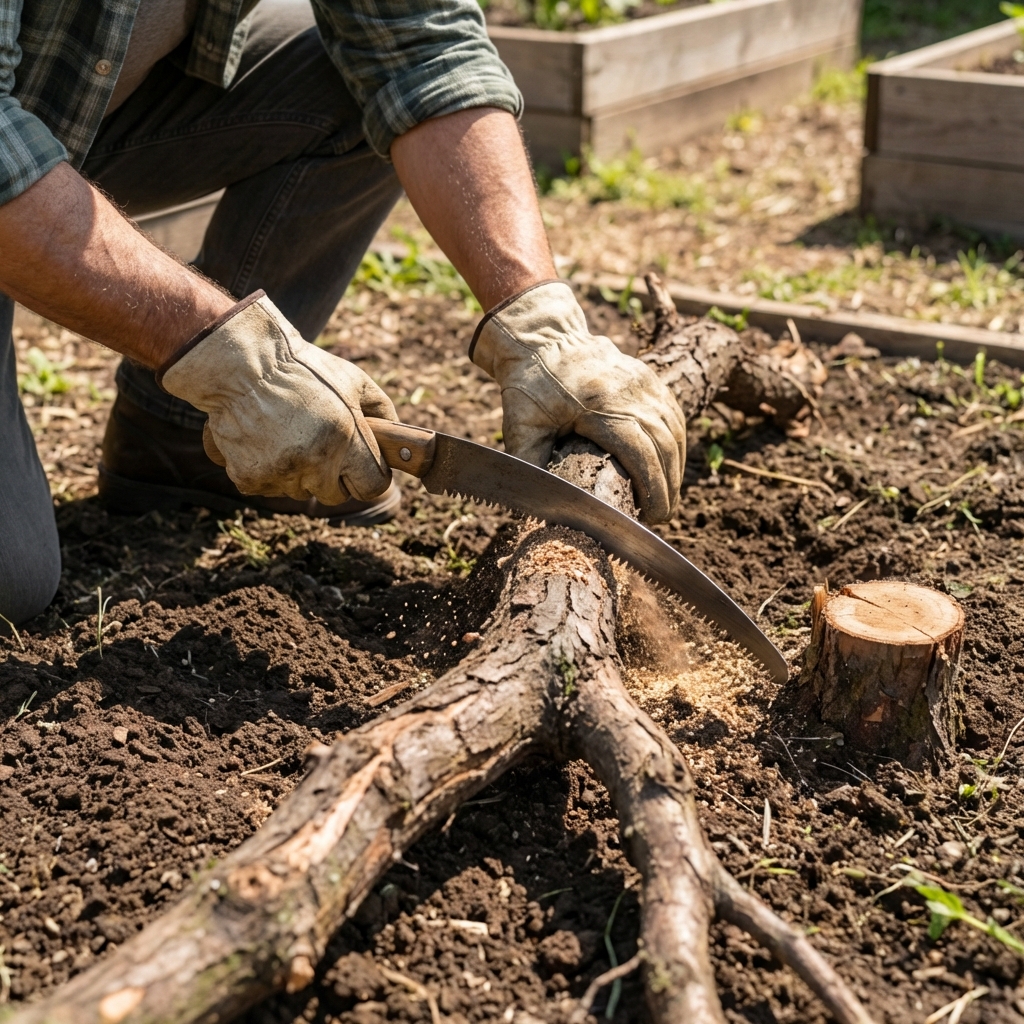
- Expose the root flare. Dig a ring 8 to 12 inches from the stump and work your way inward until you see the major roots.
- Cut roots cleanly. Saw thick roots and lop smaller ones. Clean cuts are easier to work around and usually disturb less soil than tearing roots out.
- Rock and lift. Once enough roots are cut, rock the stump back and forth to find what is still holding. Cut those roots and repeat.
- Backfill in layers. Mix the excavated soil with compost and water it in as you refill, so you do not end up with a future sinkhole.
Realistic expectation: A 3 to 5 inch stump might take 30 to 90 minutes. A stubborn 8 inch stump with a taproot can take a few hours.
What to do with the stump and roots: If the tree was healthy, you can cut them into pieces for a habitat pile, bury chunks in a hugelkultur-style bed, or let them dry and use them as firewood where allowed. If the tree died from disease, skip reuse and follow local disposal guidance.
Option 2: Leave the stump and speed up natural rot (least soil disturbance)
If your goal is eco-first and you can wait, encouraging decomposition is hard to beat. You keep soil structure more intact and turn the stump into organic matter over time.
How to do it
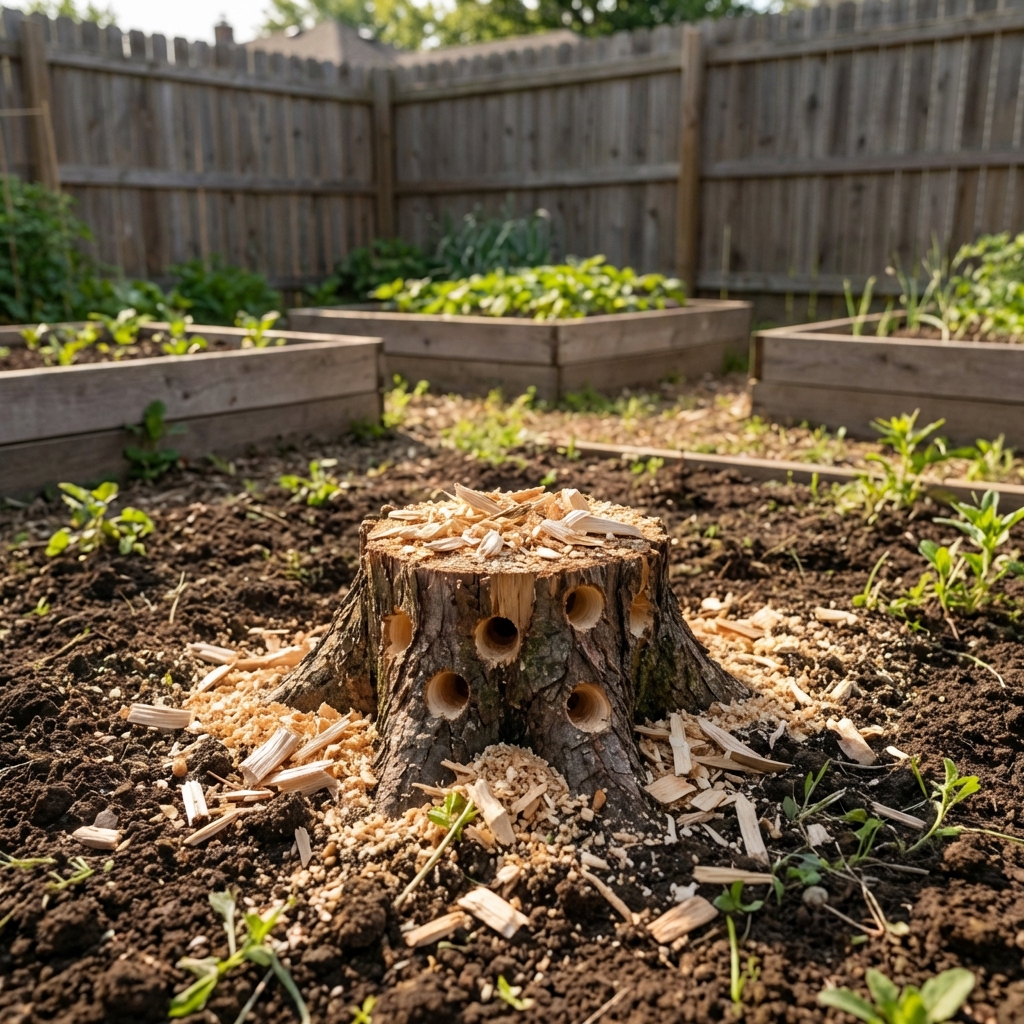
- Cut it as low as possible. The closer to ground level, the easier it is to hide and mulch over.
- Drill holes. Use a 1/2 inch drill bit and make holes 4 to 6 inches deep across the top, spaced a couple inches apart.
- Keep it damp. Decomposers need moisture. If rain is scarce, soak the stump every week or two.
- Add a nitrogen boost. To feed the microbes breaking down wood, sprinkle a small amount of nitrogen-rich material into the holes: alfalfa meal, blood meal, or a light dose of an organic high-nitrogen fertilizer. You can also pack holes with fresh grass clippings.
- Cover with mulch. A thick layer of wood chips over the stump area holds moisture and invites fungi.
Timeline: For small stumps, you might see real softening in 6 to 12 months, and major breakdown in 1 to 3 years depending on species, moisture, and climate. Dense woods (like oak or cedar) and dry or cold climates can take longer.
Quick caution: If the tree came down due to a serious pest or disease issue, letting the stump rot in place is not always the best move. When in doubt, dig it out and dispose of it according to local guidance.
Option 3: Solarize to stop sprouts (simple, low effort)
This method does not remove the stump quickly, but it can help stop regrowth by stressing or killing living tissue near the surface. It can also create a warm, moist mini greenhouse under the plastic, which sometimes helps fungi and rot get started. Results vary a lot by species and climate, so think of this as a control step, not a guaranteed shortcut.
- Cut the stump low and smooth the top.
- Cover it tightly with black plastic, weighted with stones or soil at the edges.
- Leave it through the hottest part of the year for 6 to 10 weeks.
Where it works best: Full sun, warm summers. In shade or cool climates, it is slower.
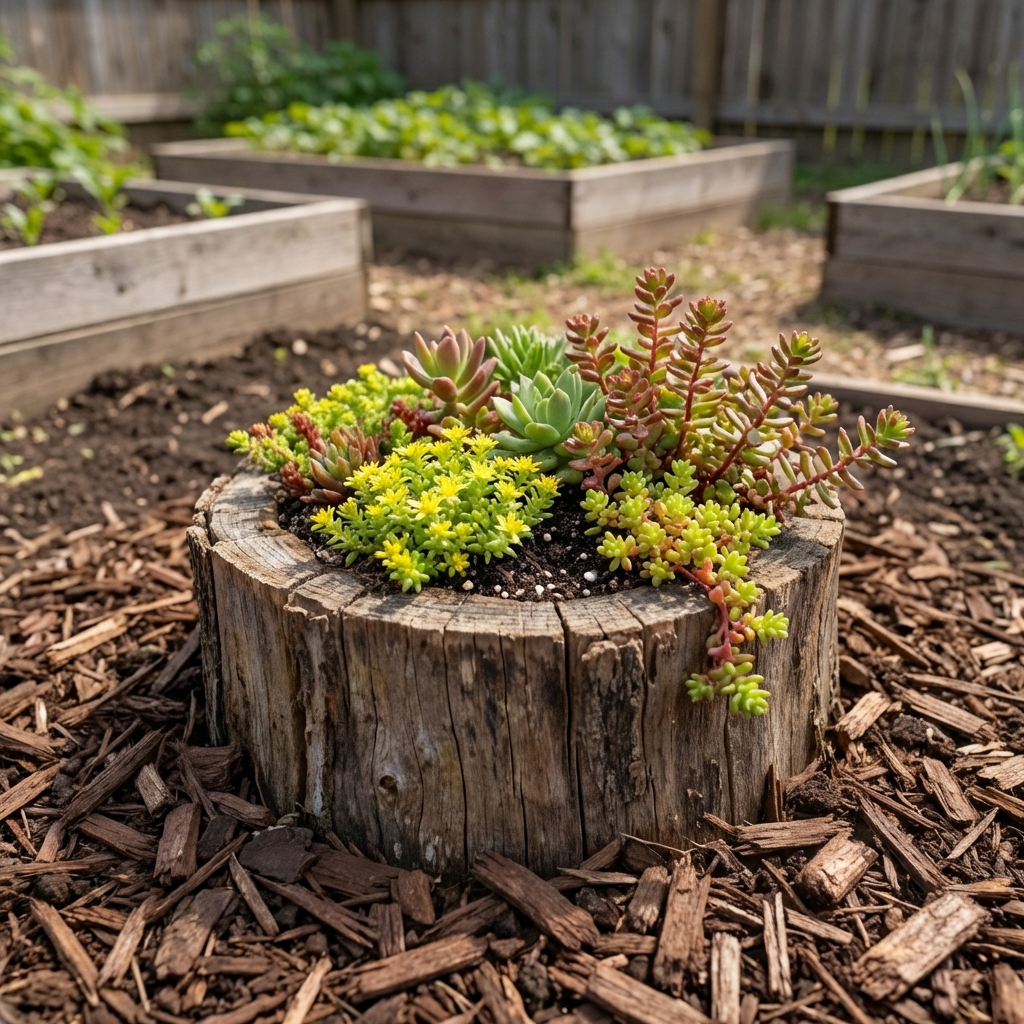
Option 4: Make it a stump planter
If the stump is not in the way, one of the greenest choices is to reuse it. This is especially handy when the stump is too stubborn to dig but you want it to look intentional.
Quick ways to style it
- Hollow the top. Use a drill and chisel to create a shallow bowl, add potting mix, and plant sedum, thyme, or annuals.
- Cover and soften. Let mosses or low groundcovers creep around it, then mulch the edges.
- Turn it into habitat. A decaying stump can become a mini wildlife feature for beneficial insects and fungi.
Methods to avoid for eco-friendly results
- Stump remover chemicals (often potassium nitrate). They can work, but they are not always necessary for small stumps, and product formulas vary. Read the label and follow local guidance if you go this route.
- Salt, bleach, or diesel. These can damage soil structure and harm nearby plants for a long time. They are not worth it.
- Open burning in the hole. Besides the obvious fire risk, ash and intense heat can cook soil life, and local rules often prohibit it.
Plant care tips after stump removal
Stump work almost always leaves the soil uneven and a little compacted. A few simple steps make a big difference in how well the next plant does.
1) Deal with settling
Backfilled soil will sink as air pockets collapse. Plan to top off with soil or compost over the next few rains.
2) Rebuild the soil with compost, not just fertilizer
Mix in 1 to 2 inches of compost over the area. Compost improves structure, water holding, and microbial recovery after digging.
3) Watch for nitrogen tie-up if you left roots behind
When wood decomposes in soil, microbes use nitrogen to break it down. If you plant heavy feeders right away (like tomatoes or corn) and you left lots of roots, you may see pale growth. A light application of an organic nitrogen source can help.
4) Choose the right next plant
- Best right away: native perennials, shrubs, ornamental grasses, groundcovers.
- Fine with a little settling: a raised bed over the area. If you use a sheet layer, consider plain, tape-free cardboard sparingly, or use alternatives like thick leaf mulch, paper mulch, or extra compost and wood chips.
- Be cautious: planting a new tree in the exact same spot. Old roots can decay and create air pockets, and some trees leave behind disease organisms. If you want a new tree, consider shifting the planting hole a few feet or removing more roots.
Quick decision guide
- Need the space now: dig it out by hand.
- Want the least soil disturbance: cut low, drill holes, keep it damp, mulch, and let it rot.
- Dealing with resprouts: solarize in hot weather or keep cutting shoots until the stump stops trying.
- Stump is not in the way: reuse it as a planter or habitat feature.
Have a stump that is being stubborn? Share the stump diameter, the tree type (if you know it), and whether the spot is sun or shade in the comments, and we can help you pick the best eco-friendly option.

Jose Brito
I’m Jose Britto, the writer behind Green Beans N More. I share practical, down-to-earth gardening advice for home growers—whether you’re starting your first raised bed, troubleshooting pests, improving soil, or figuring out what to plant next. My focus is simple: clear tips you can actually use, realistic expectations, and methods that work in real backyards (not just in perfect conditions). If you like straightforward guidance and learning as you go, you’re in the right place.