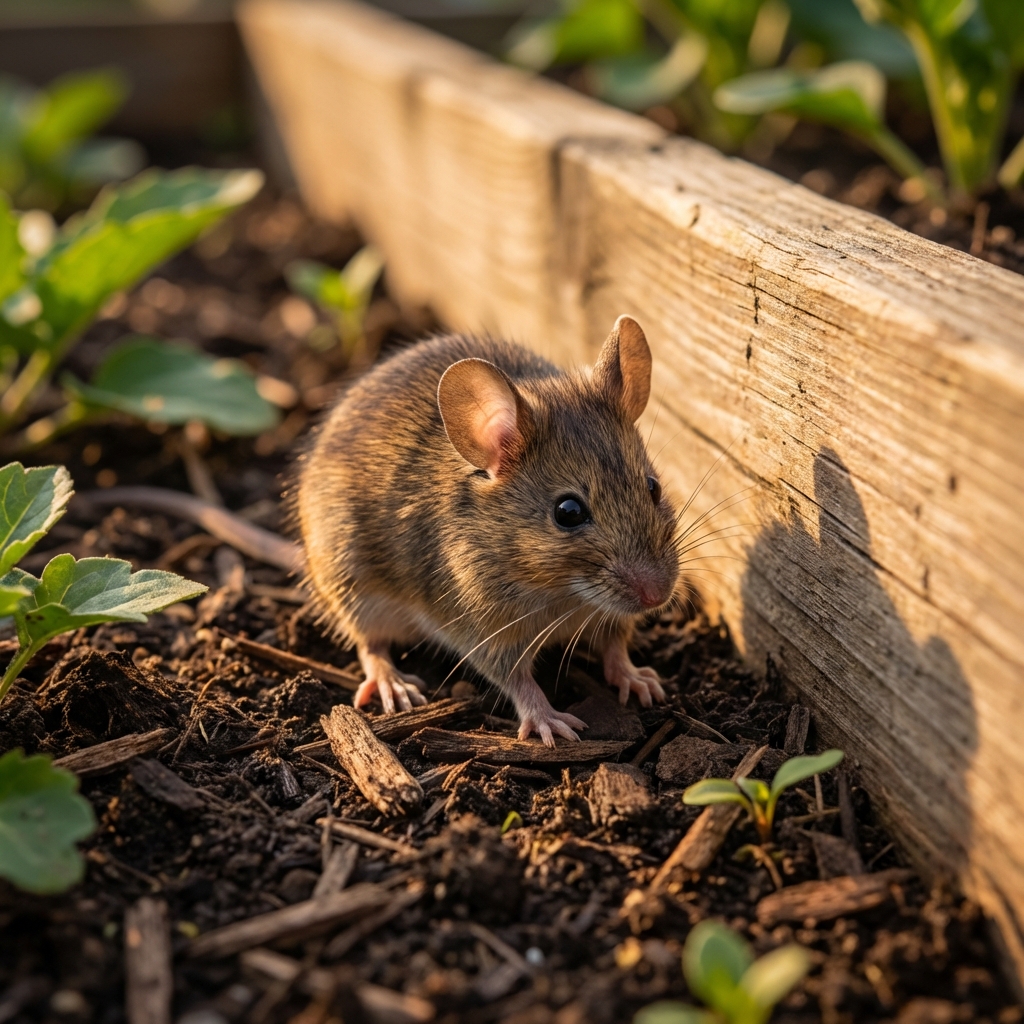
Mice are small, quiet, and persistent. In the garden, they chew seedlings, raid ripe fruit, tunnel under raised beds, and set up shop in sheds and compost. The good news is you do not need fancy gadgets to get control. You need a plan that reduces damage in beds, prevents nesting in structures, and stops the cycle by removing what they want, blocking access, and trapping the ones already present.
This guide walks you through practical DIY steps that are effective and realistic for home gardeners.
Know what you are dealing with
Garden “mice” are often house mice or deer mice. Voles are a common look-alike culprit, but they are not mice and their damage patterns are different. Your plan is still IPM: clean up food, reduce cover, block access, and trap. The details change depending on the animal.
Mouse vs vole vs rat (quick guide)
- House mouse: Often tied to structures (sheds, garages, greenhouses). Leaves small droppings, chews stored goods, and travels along walls and edges.
- Deer mouse: Common outdoors and in sheds, woodpiles, and dense cover. Similar droppings and habits to house mice, and can enter buildings.
- Vole: Stays close to thick cover. Makes visible surface runways in grass or mulch and can chew roots, bulbs, and bark at the soil line.
- Rat: Larger droppings and heavier gnawing. Burrows are bigger, damage is more aggressive, and professional help is often the fastest path.
Common signs around beds and sheds
- Droppings: Small, dark, rice-sized pellets along walls, under benches, in corners, or near stored supplies (larger droppings can point to rats).
- Chew marks: Ragged bites on seed packets, drip tubing, fruit, or the edges of wooden structures.
- Runways: Narrow paths in grass or mulch. Voles often leave obvious “highways” under cover.
- Burrows: Small holes near foundations, compost edges, under boards, or beside raised beds (bigger holes suggest rats).
- Nesting material: Shredded paper, dried grass, insulation, or fabric scraps in sheltered spots.
Quick safety note: Deer mice can carry hantavirus. Avoid sweeping dry droppings. Wear gloves, ventilate enclosed spaces, and dampen droppings with a disinfectant solution before wiping up. Many public health sources suggest a bleach-and-water mix; follow your local public health guidance and the product label for safe mixing and contact time.
Why mice move into gardens
Mice only need three things: food, water, and cover. Gardens provide all three, especially in late summer and fall.
- Food: Fallen fruit, bird seed, chicken feed, compost scraps, ripening vegetables, and pet food in sheds.
- Cover: Tall grass, weeds, brush piles, stacked lumber, thick mulch, groundcovers, and cluttered storage areas.
- Warmth: Compost piles, greenhouses, sheds, and spaces under decking and raised beds.
Step 1: Remove attractants
If you skip this part and jump straight to traps, you usually end up trapping a few mice while the rest keep thriving. Spend one focused afternoon on these basics first.
Clean up food sources
- Pick up fallen fruit and nuts daily during peak season. Do not leave windfalls under trees.
- Harvest ripe produce promptly. Overripe tomatoes and melons are mouse magnets.
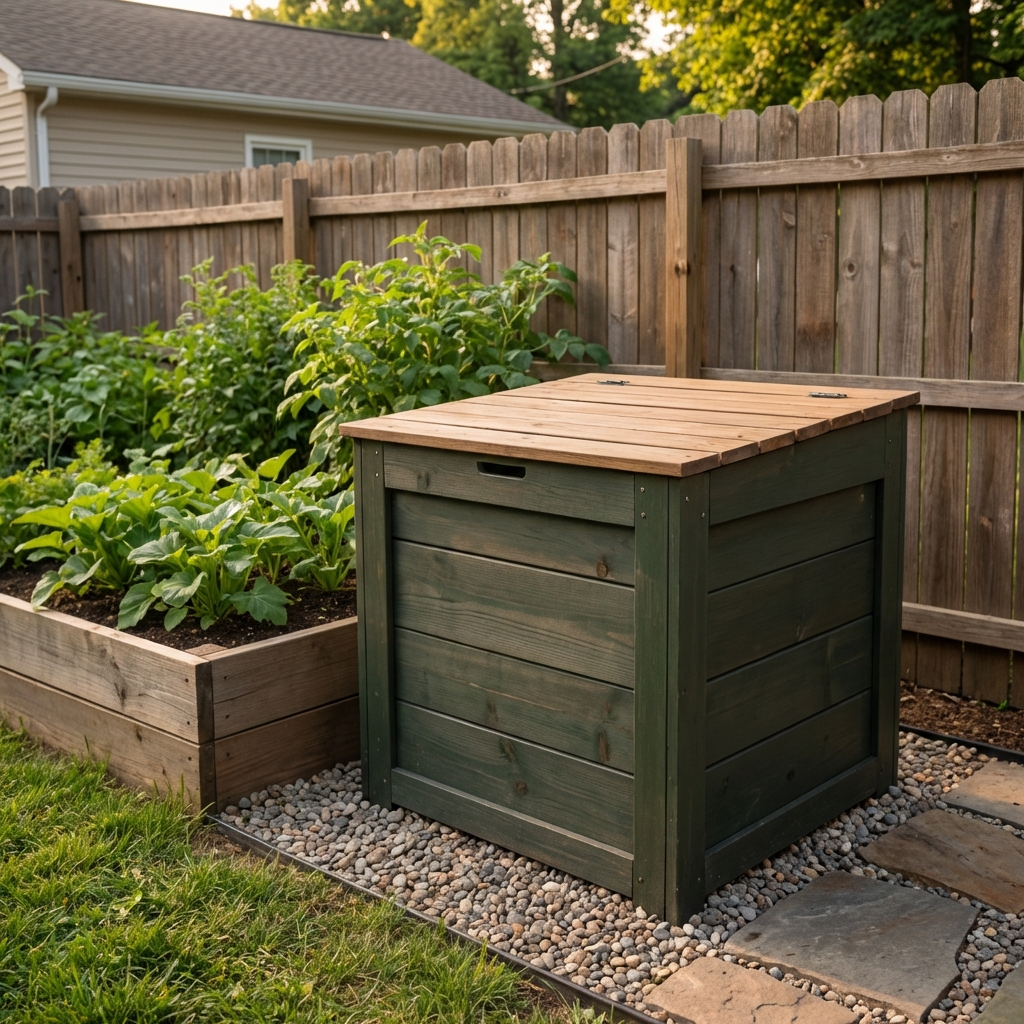
- Store seeds, bulbs, and amendments in hard plastic or metal bins with tight lids.
- Keep bird feeders away from beds and use catch trays if possible. Sweep spilled seed.
- If you keep chickens, store feed in metal containers and clean up regularly.
Make compost less inviting
- Bury kitchen scraps in the center of the pile instead of leaving them on top.
- Use a lidded compost bin or a hardware cloth base if mice are nesting underneath.
- Avoid adding greasy foods, meat, or large amounts of grain.
Step 2: Remove hiding places
Mice are edge-lovers. They move along walls, fencing, and thick plant cover. The goal is to make them feel exposed.
- Trim back: Keep grass and weeds cut short within 2 to 3 feet of beds, fences, and sheds.
- Thin heavy groundcover: Ivy, dense ornamental grasses, and sprawling plants can hide runways.
- Move woodpiles: Store wood at least 20 to 30 feet from the house if you can, and raise it off the ground.
- Declutter: Remove old pots, tarps, boards, and “temporary” piles that never move.
Step 3: Block access
If mice can keep getting into your shed, greenhouse, or raised bed base, you are fighting a refillable problem. Exclusion is your long-term fix.
Seal sheds and garden structures
- Look for gaps around doors, corners, and where pipes or hoses pass through.
- For small gaps, use copper mesh, stainless rodent mesh, or steel wool, then cover with a durable sealant or expanding foam rated for pest blocking. Copper or stainless lasts longer outdoors than standard steel wool.
- Add a door sweep and repair rotted thresholds.
- Cover vents with hardware cloth.
Choose the right mesh size
- 1/4-inch hardware cloth is common and works well in many garden builds.
- If you are seeing very small mice, juveniles, or you want a tighter seal for vents and small openings, consider 1/8-inch hardware cloth, especially on structures.
Protect raised beds and tunnels
- If you are building new beds, staple hardware cloth across the bottom before filling with soil.
- For existing beds, consider a perimeter trench and an L-shaped hardware cloth skirt around the outside edge in problem areas.
- In hoop houses or low tunnels, check for openings along the base and anchor edges tightly.

Step 4: Trapping that works
Trapping is the quickest way to reduce the population once you have removed food and cover. Choose a method you can check daily. Also, do not rely on one or two traps. Mice are social and you often need multiple traps to make a real dent.
How many traps?
- Start with 6 to 12 snap traps for a typical shed, greenhouse, or small garden edge problem.
- If you are seeing daily signs in multiple zones, scale up and trap each zone at the same time.
Snap traps (simple and effective)
Standard snap traps work well outdoors when placed correctly and protected from weather.
- Where to place: Along walls, fence lines, behind pots, under the lip of a shed, and beside runways. Place traps perpendicular to a wall with the trigger end near the wall.
- Baits that hold up: Peanut butter mixed with oats, a small piece of dried fruit, or a smear of nut butter.
- Nesting lure option: A tiny bit of cotton can increase interest, but only use it when the trap is fully enclosed in a covered box to reduce risk to non-target wildlife.
- Use a cover: Set traps inside a small covered box or under an upside-down crate with an entry gap to keep birds and pets away.
Enclosed stations with snap traps
If you have pets, kids, or lots of wildlife, enclosed stations are a safer way to deploy snap traps. You can buy them or build a simple box that forces mice to enter but blocks larger animals.
Trap handling basics
- Wear gloves when placing and disposing of rodents.
- Check traps daily. In hot weather, check morning and evening.
- Double-bag disposal or follow local guidance for carcass disposal.
- Wash hands and disinfect surfaces that contacted rodents or droppings.
Live traps (use with caution)
Live traps can catch mice, but they create a new problem: what to do next. Relocating is often illegal or not effective, and released mice may not survive. If you choose live traps, check them frequently and follow local rules for humane handling.
Glue boards (not recommended outdoors)
Glue boards can cause prolonged suffering and often catch non-target animals in outdoor settings. They also fail easily in dust and moisture. Skip them.
What about poisons?
Rodenticides can lead to secondary poisoning of owls, hawks, foxes, cats, and dogs. In a garden setting, they also increase the risk of exposure to children and non-target wildlife. If you feel you must use bait, use tamper-resistant stations and follow local regulations. For most home gardens, you can get results with sanitation, exclusion, and trapping without going there.
Protect key areas
Seed starting and seedlings
- Use fine mesh or hardware cloth cloches over vulnerable starts.
- Reduce cover near tender seedlings (boards, thick mulch, dense weeds) so mice feel exposed when approaching.
- Keep potting mix and seed supplies sealed in a bin.
Fruit trees and berries
- Pick up fallen fruit daily.
- Use trunk guards where gnawing is an issue, especially in winter.
- Keep mulch pulled back a few inches from trunks to reduce cover.
Compost and leaf piles
- Switch from open piles to a bin if you keep seeing burrows.
- Turn compost regularly. Disturbance discourages nesting.
- Store bagged leaves off the ground or use them quickly.
Sheds and greenhouses
- Keep floors clear and store supplies on shelves.
- Seal gaps, add door sweeps, and cover vents with hardware cloth.
- Avoid keeping bird seed, pet food, or grass seed in paper bags.
Natural deterrents
Helpful
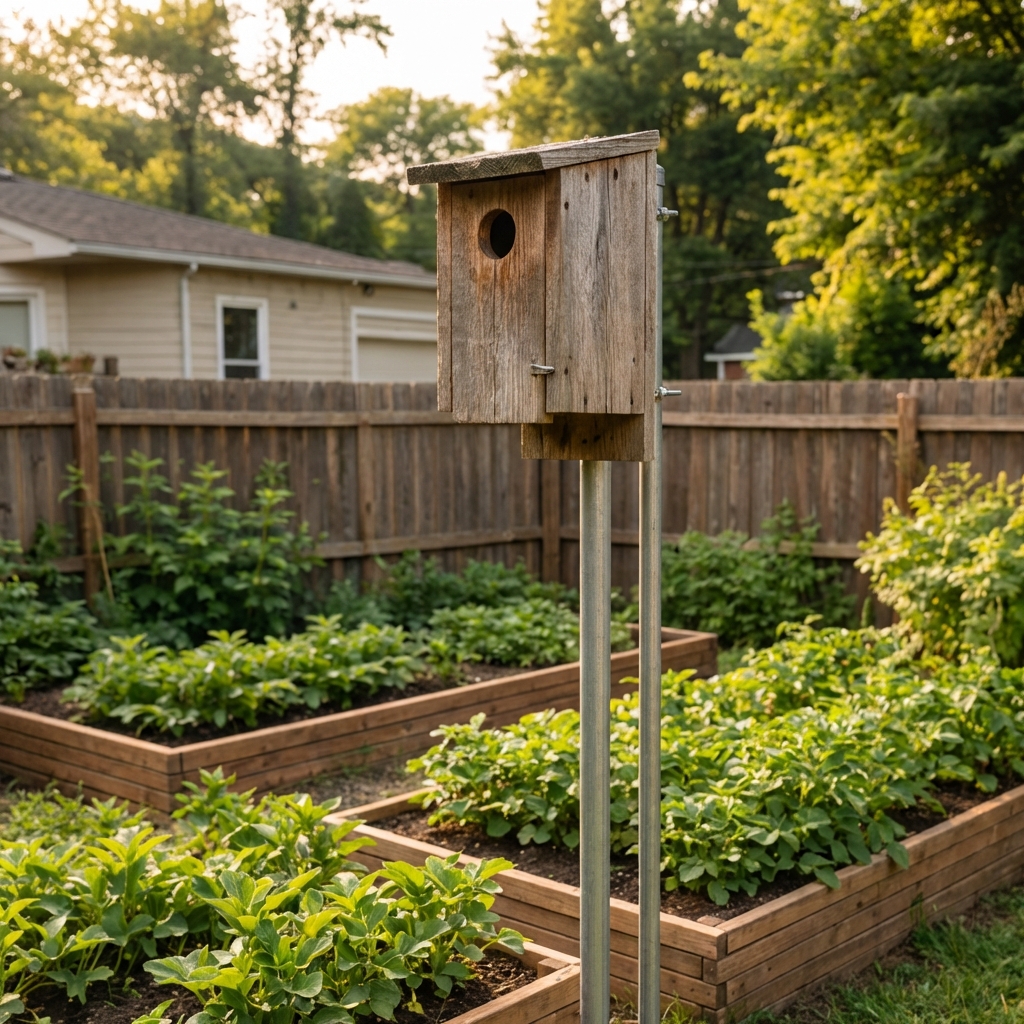
- Owl boxes and raptor perches: Encouraging predators can help long-term, especially in larger yards. It is not instant, but it is real.
- Outdoor cats: They can reduce mice, but they also impact songbirds. If you use this approach, consider supervised outdoor time or a catio.
- Habitat management: Keeping areas trimmed and open is one of the best “natural” deterrents.
Usually not enough
- Peppermint oil: It may discourage briefly in tiny enclosed areas, but outdoors it fades fast.
- Ultrasonic devices: Results are inconsistent, and outdoor use is rarely effective.
DIY 7-day action plan
If you want a simple timeline, here is one that works for many gardens.
- Day 1: Remove fallen fruit, tidy harvest, sweep up spilled seed, seal food in bins.
- Day 2: Cut grass and weeds around beds and structures. Move clutter into sealed storage.
- Day 3: Inspect shed and greenhouse. Seal gaps, add a door sweep, cover vents.
- Day 4: Set multiple snap traps in protected boxes along runways and edges. Mark locations.
- Days 5 to 7: Check traps daily, reset as needed, and keep cleanup consistent.
After a week, you should see a noticeable drop in activity if the attractants are truly under control.
Seasonal tip
Pressure often increases in fall as nights cool and food sources shift. Do a “fall seal-up” on sheds and greenhouses, then monitor through winter, especially after the first cold snap.
How to tell you are winning
- Fewer fresh droppings in known spots.
- No new gnaw marks on fruit, irrigation lines, or stored items.
- Reduced runway activity in grass and mulch.
- Traps go from frequent catches to none for several days in a row.
If you still see heavy activity after two weeks, you likely have an ongoing food source you missed, a hidden entry point, or a nearby habitat like a woodpile, dense hedge, or a neighbor’s feed setup keeping pressure high.
When to call a pro
DIY is great for typical garden mouse problems. Consider professional help if:
- You suspect rodents inside your home walls or attic.
- You have repeated infestations despite sealing and trapping.
- You see signs of rats (larger droppings, bigger burrows, heavier gnawing).
- You need exclusion work on a structure you cannot safely access.
Quick checklist
- Harvest often and pick up windfalls.
- Store seed, feed, and bulbs in sealed containers.
- Keep compost covered and scraps buried.
- Trim a 2 to 3 foot open zone around beds and sheds.
- Use 1/8-inch to 1/4-inch hardware cloth as needed for vents and bed bottoms.
- Trap along edges, under cover, and check daily.
Mice control is less about one magic tool and more about consistency. Once you remove easy food and safe hiding places, the garden stops being such a good deal for them.

Jose Brito
I’m Jose Britto, the writer behind Green Beans N More. I share practical, down-to-earth gardening advice for home growers—whether you’re starting your first raised bed, troubleshooting pests, improving soil, or figuring out what to plant next. My focus is simple: clear tips you can actually use, realistic expectations, and methods that work in real backyards (not just in perfect conditions). If you like straightforward guidance and learning as you go, you’re in the right place.