Houseplants are one of the simplest DIY upgrades you can make for a home that feels fresher. They can add a bit of humidity as they transpire, make a room feel softer, and collect some dust on their leaves (which you will wipe away). Some plants may also help remove tiny amounts of certain airborne compounds under the right conditions, mostly in lab-style setups rather than real-world rooms.
What I like about air-cleansing plants is that you can start small, learn as you go, and build a setup that fits your light and your schedule. This guide keeps it realistic and beginner-friendly, no perfect greenhouse conditions required.
What “air-cleansing” really means
You have probably seen lists that claim specific plants “remove toxins.” There is some research showing plants can take up certain compounds, but those results often come from controlled lab setups with sealed chambers, high plant-to-air ratios, and steady airflow across leaves and roots.
In a normal home, the biggest air-quality wins usually come from:
- Ventilation (fresh outdoor air when conditions allow)
- Source control (less smoke, fewer harsh aerosols, careful storage of paints and solvents)
- Filtration (a good HVAC filter or a room air purifier if you need it)
So where do plants fit? Think of them as a helpful supporting player. They can improve comfort a little by adding some humidity, giving dust a place to land (then get wiped off), and encouraging you to keep a calmer, cleaner-feeling space.
Start with the right conditions
The fastest way to fail with houseplants is picking a plant that needs different light than you have. Before you buy anything, do a quick check:
- Bright indirect light: Close to a bright window, but out of harsh direct sun. Most easy plants thrive here.
- Low to medium light: North windows, shaded rooms, or spots far from windows. You need tougher plants.
- Dry air: Common in winter with heaters running. Some plants handle it, others get crispy.
If your space is dim, do not force high-light plants to “make it.” Pick plants that tolerate low light and you will have a much better experience.
Beginner-friendly plant picks
These are reliable, widely available, and forgiving. I am not claiming they will replace ventilation, but they are great choices for a simple DIY plant setup that makes a space feel more alive.
Snake plant (Dracaena trifasciata)
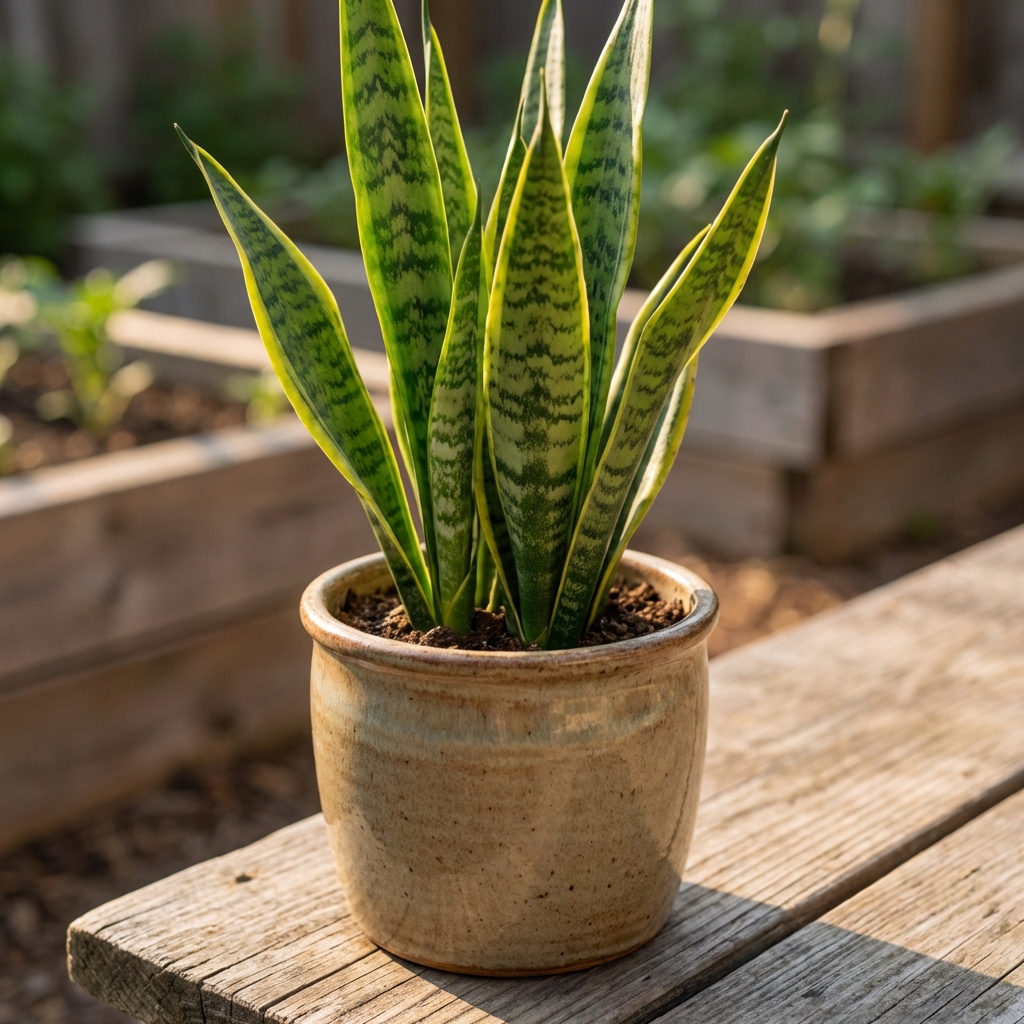
- Why beginners like it: Handles low light and missed waterings.
- Light: Low to bright indirect.
- Water: Let soil dry out most of the way before watering again.
- Good for: Bedrooms, offices, corners that get decent ambient light.
Pothos (Epipremnum aureum)
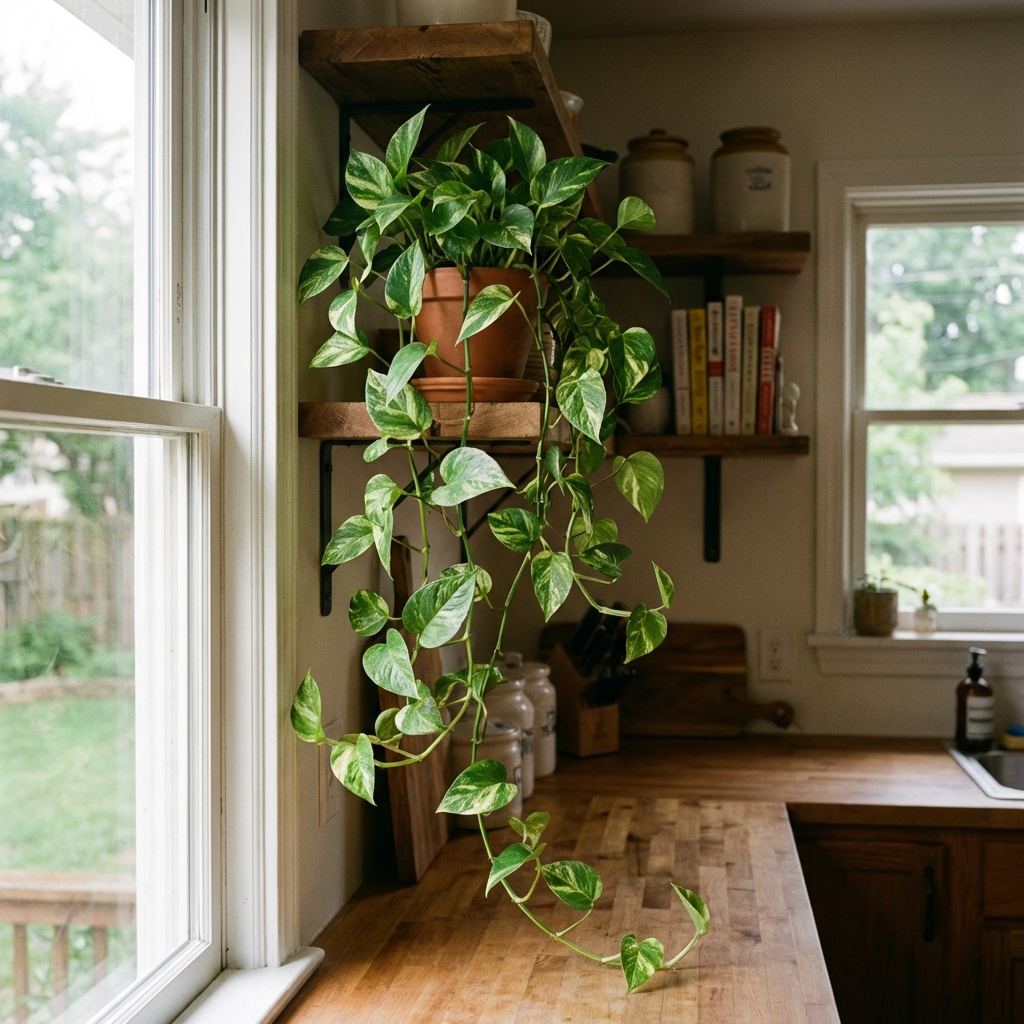
- Why beginners like it: Fast growth, easy to propagate, tolerates a range of light.
- Light: Medium to bright indirect. Variegated types need more light to keep patterns.
- Water: When the top 1 to 2 inches of soil are dry.
- Good for: Shelves, hanging pots, rooms where you want quick “green impact.”
Spider plant (Chlorophytum comosum)
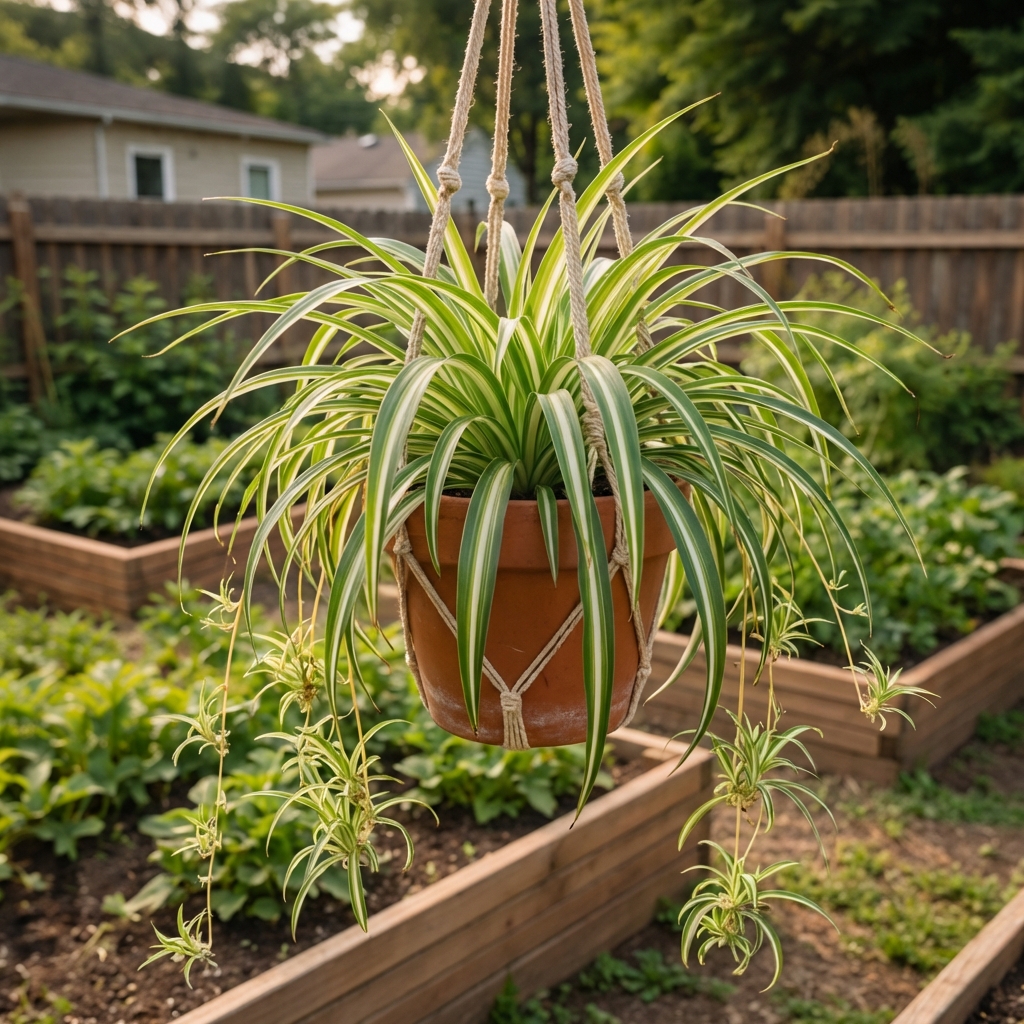
- Why beginners like it: Tells you what it needs and bounces back well.
- Light: Bright indirect is best, but it adapts.
- Water: Even moisture, not soggy. Water when the top inch is dry.
- Note: Brown tips are common from dry air or mineral-heavy water.
Peace lily (Spathiphyllum)
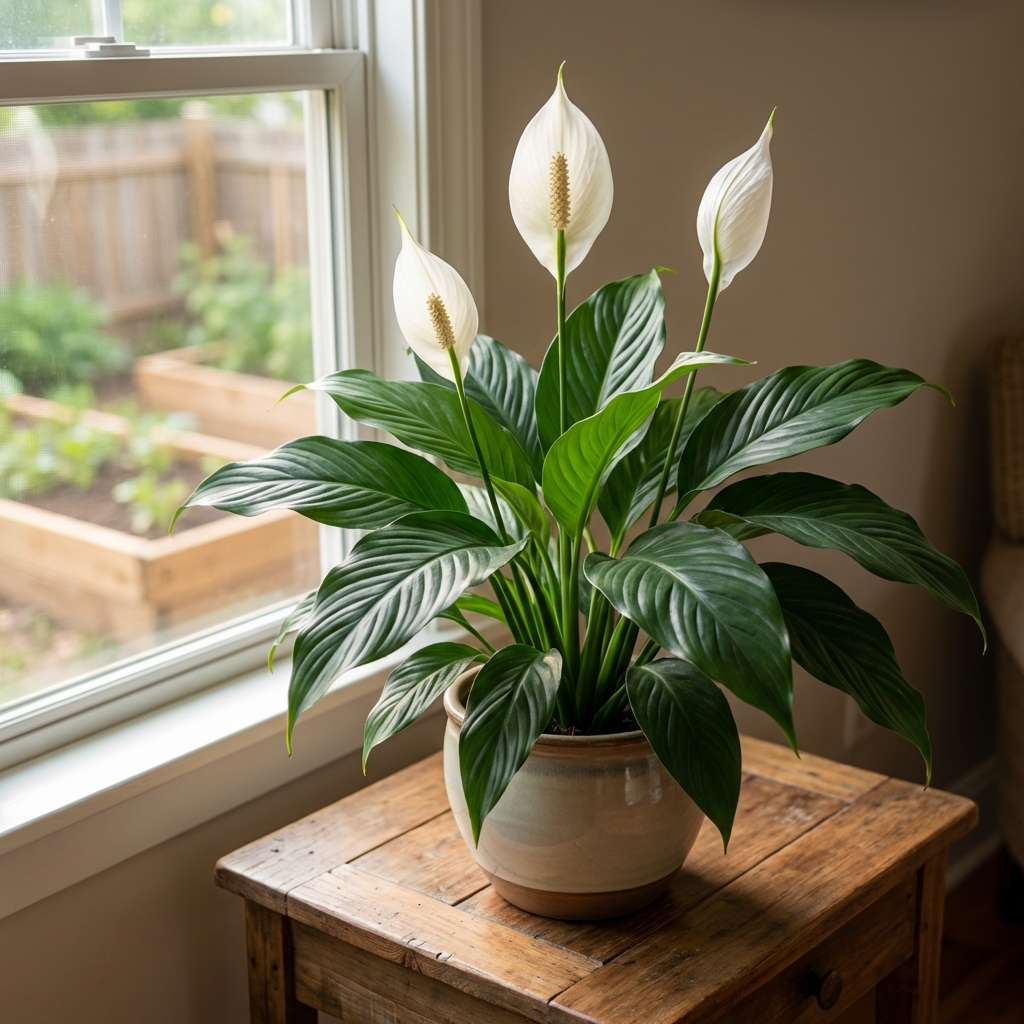
- Why beginners like it: Dramatic “I need water” droop, then perks up after watering.
- Light: Medium to bright indirect. Will tolerate lower light with slower growth.
- Water: When leaves just start to droop or the top inch of soil is dry.
- Tip: Do not keep it constantly wet. That invites fungus gnats and root issues.
Rubber plant (Ficus elastica)
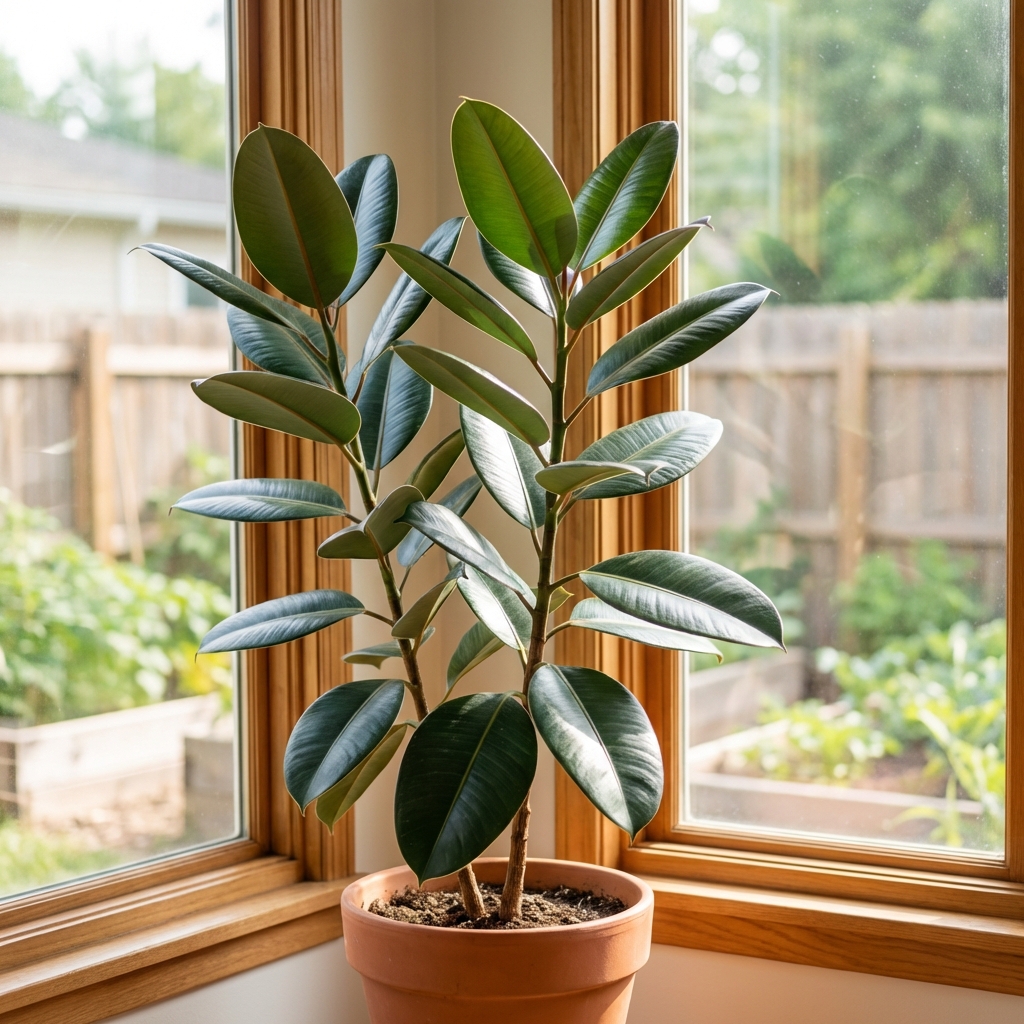
- Why beginners like it: Sturdy, tree-like look without a lot of fuss.
- Light: Bright indirect, can take some gentle morning sun.
- Water: Let the top few inches dry before watering.
- Bonus: Big leaves are easy to wipe, which helps keep dust from building up.
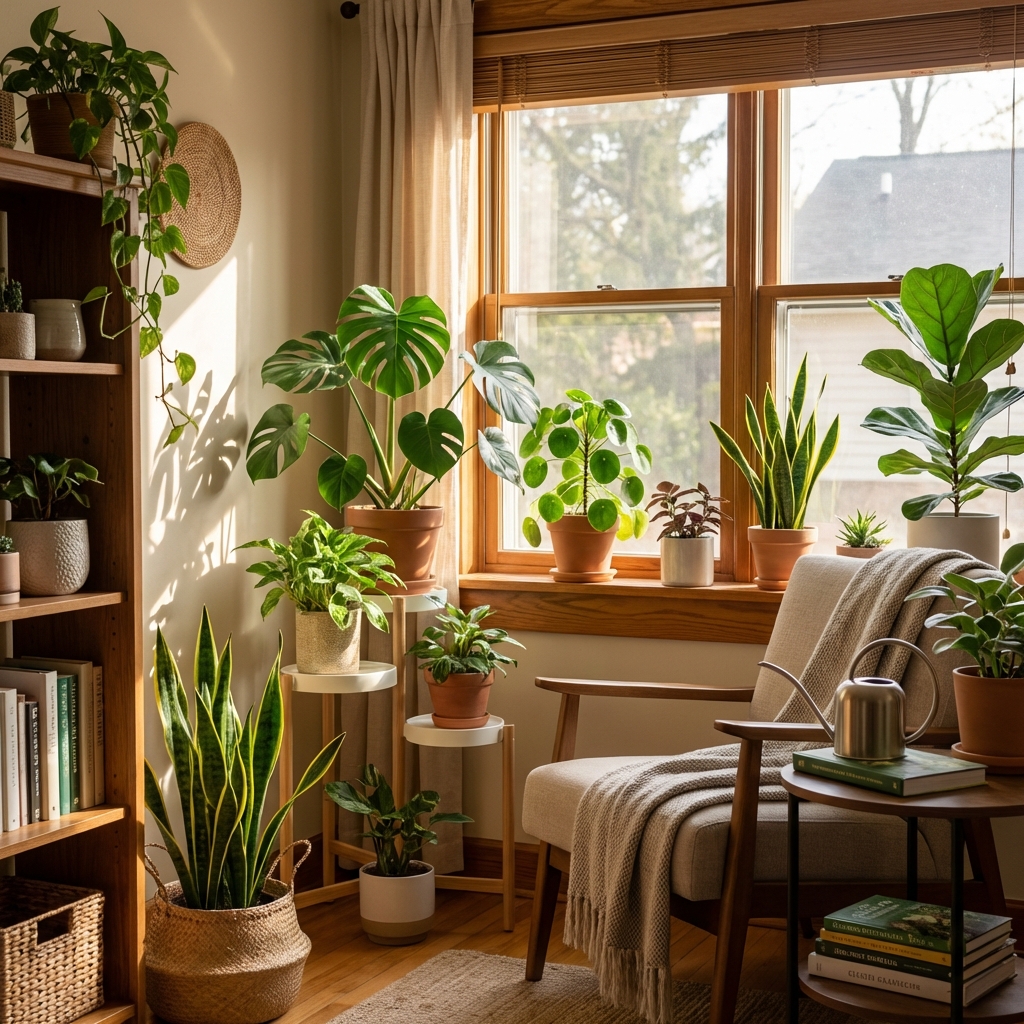
DIY setup: a fresh-feel plant zone
You do not need plants in every corner of the house. A small cluster in the rooms you use most is easier to care for and looks more intentional. This is more about comfort and vibe than a dramatic change in your AQI.
Step 1: Pick your rooms
- Bedroom: Choose low-fragrance plants and avoid overwatering.
- Living room: Great for larger plants and a small plant group near a window.
- Home office: A pothos or snake plant is low-maintenance and forgiving.
Step 2: Choose 3 plants with different shapes
A simple formula that looks good and stays manageable:
- One upright plant (snake plant or rubber plant)
- One trailing plant (pothos)
- One “filler” plant (spider plant or peace lily)
Step 3: Use the right pots and mix
- Use a pot with drainage holes whenever possible.
- If you love a decorative pot without holes, keep the plant in a plastic nursery pot and set it inside as a cover pot.
- Use a well-draining indoor potting mix. Avoid garden soil indoors, it tends to compact and hold too much water.
- Add a saucer or waterproof tray to protect floors and furniture.
Step 4: Keep leaves clean
Dusty leaves do not photosynthesize well. Once every couple of weeks, wipe broad leaves with a damp cloth. For smaller leaves, a gentle rinse in the sink works well. Skip leaf-shine products, they can clog leaf pores and attract more dust over time.
Buy healthy plants
A strong start makes everything easier. When you are at the store, take an extra minute and check:
- Leaves: Mostly firm and colorful, not limp, heavily spotted, or sticky.
- Undersides: Look for pests (tiny webs, specks, clusters along veins).
- Soil: Lightly moist is fine, but avoid plants sitting in soggy soil.
- Stems: Stable and upright, not mushy at the base.
- Pot: A few roots showing is normal, but a plant bursting out of the pot may need an immediate repot.
Care routine for beginners
If you want plants to thrive, consistency beats intensity. Here is a simple routine you can stick to.
Weekly (5 minutes)
- Check soil moisture with your finger.
- Rotate pots a quarter turn so growth stays even.
- Remove yellow leaves and check for pests under leaves.
Monthly
- Wipe leaves or rinse dust off.
- Check if roots are circling the pot or pushing out drainage holes.
- If the plant is actively growing, use a mild houseplant fertilizer at label rates.
Seasonal
- Expect slower growth in winter, so water less often.
- In spring and summer, plants may need more frequent watering and a little feeding.
Common problems and quick fixes
Yellow leaves
- Most common cause: Overwatering.
- Fix: Let the soil dry more between waterings. Make sure the pot drains.
Brown, crispy tips
- Common causes: Dry air, inconsistent watering, mineral-heavy tap water.
- Fix: Water more consistently. Consider using filtered water for sensitive plants like spider plants.
Fungus gnats
- Cause: Soil staying damp too long.
- Fix: Let soil dry out more, use yellow sticky traps, and top-dress with a thin layer of sand or use mosquito bits as directed.
Leggy, stretched growth
- Cause: Not enough light.
- Fix: Move closer to a window or add a simple grow light.
Safety notes (pets and kids)
A lot of common houseplants are not pet-friendly if chewed. If you have curious cats, dogs, or toddlers, place plants up high, use hanging planters, or choose safer options.
- Use extra caution with: pothos, peace lily, snake plant, rubber plant (all can cause irritation if ingested).
- Pet-friendlier options to look into: spider plant is often listed as non-toxic, but any plant can cause stomach upset if eaten in large amounts.
If you need certainty for your specific pet, check a trusted veterinary toxicity database or call your vet.
A simple plan for this weekend
If you want a no-stress starting point, do this:
- Buy one snake plant, one pothos, and one spider plant.
- Place them in bright indirect light, as close to a bright window as you can without putting them in harsh direct sun. In many homes, 1 to 3 feet from the window is a good starting point, then adjust if you see stretching.
- Use pots with drainage and a saucer.
- Water only when the top of the soil is dry for pothos and spider plant, and when most of the soil is dry for snake plant.
- Wipe leaves every couple of weeks (or give them a gentle rinse) to remove dust.
Once those are thriving, then add a larger statement plant like a rubber plant, or swap one plant for a peace lily if you want blooms and you can keep a steadier watering routine.
Bottom line
DIY air-cleansing plants are a great beginner project because they improve how a room feels right away and they teach you the basics of light and watering fast. Keep expectations realistic, focus on hardy plants, and build a small setup you can actually maintain. Healthy plants do more for your space than a dozen struggling ones.

Jose Brito
I’m Jose Britto, the writer behind Green Beans N More. I share practical, down-to-earth gardening advice for home growers—whether you’re starting your first raised bed, troubleshooting pests, improving soil, or figuring out what to plant next. My focus is simple: clear tips you can actually use, realistic expectations, and methods that work in real backyards (not just in perfect conditions). If you like straightforward guidance and learning as you go, you’re in the right place.