Fleas are one of those problems that feel small until they are suddenly everywhere. And the frustrating part is this: you can treat the pet and still have fleas because a big part of the “flea problem” is actually in your home as eggs, larvae, and pupae hiding in carpets, bedding, and cracks.
This guide walks you through a classic homemade approach for quick, short-term relief, plus the cleaning routine that does the real heavy lifting. I will also be straight with you about what is not safe, what has limited evidence, and when it is time to bring in a vet-grade product.
First, know what you are fighting
Fleas go through four stages: egg, larva, pupa, adult. Adult fleas are what you see, but they are often a small slice of the total population. Eggs drop off your pet into carpets and furniture. Larvae hide from light and feed on debris. Pupae can sit tight for days or weeks, and then hatch when vibrations, warmth, or carbon dioxide tell them a host is nearby.
That is why a “homemade remedy” is really a two-part job:
- Quick knockdown: reduce adult fleas now (temporary relief).
- Life cycle break: remove eggs, larvae, and newly emerging adults with cleaning and repeat steps.
Reality check: Pupae are tough. Even with great cleaning, you can see new fleas popping up for several weeks. Expect improvement in 1 to 2 weeks, but full clearance can take 3 to 8 weeks in heavier infestations.
Quick home check
Before you treat everything, do a fast check:
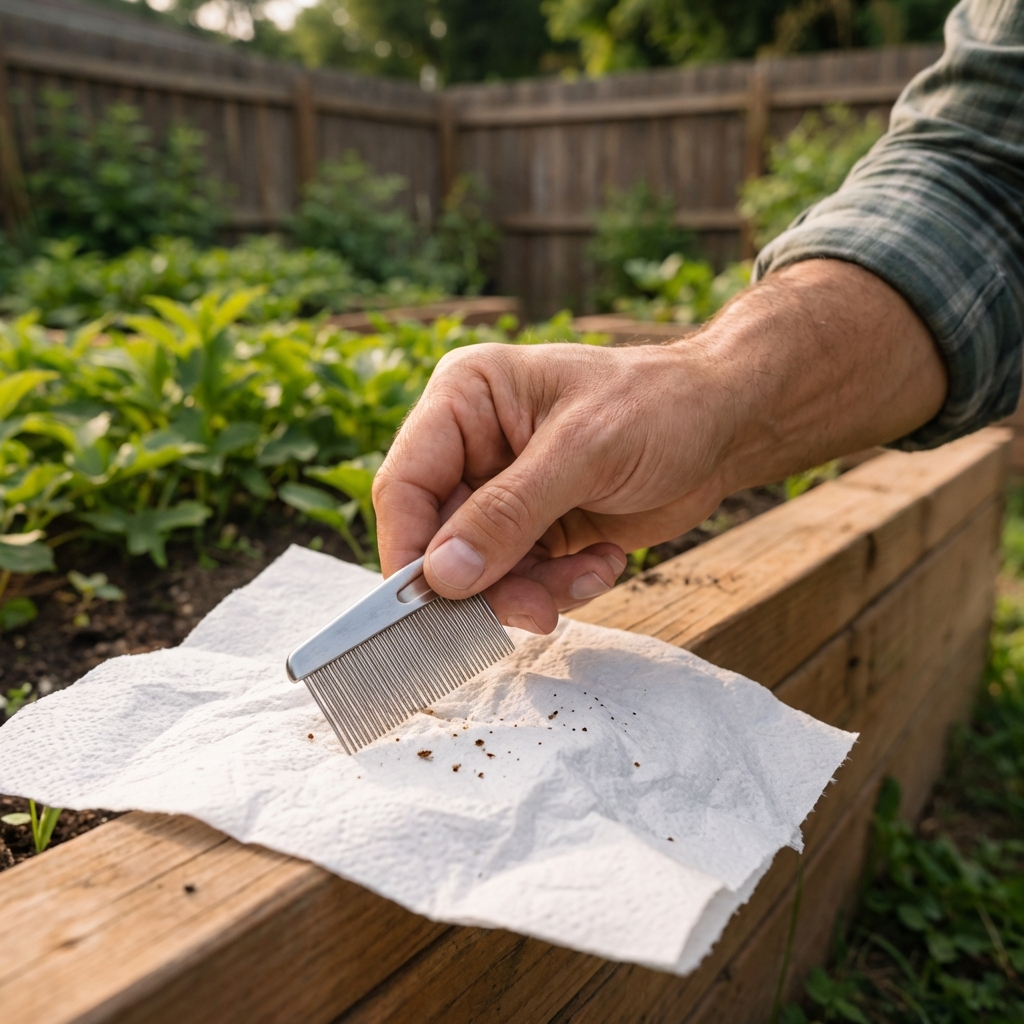
- On pets: look for tiny fast-moving dark specks, especially around the tail base, belly, and neck.
- Flea dirt test: comb your pet over a white paper towel. Add a few drops of water to the black specks. If it turns reddish-brown, that is flea dirt (digested blood).
- In the home: fleas often bite ankles and lower legs. You may also spot them in pet bedding areas.
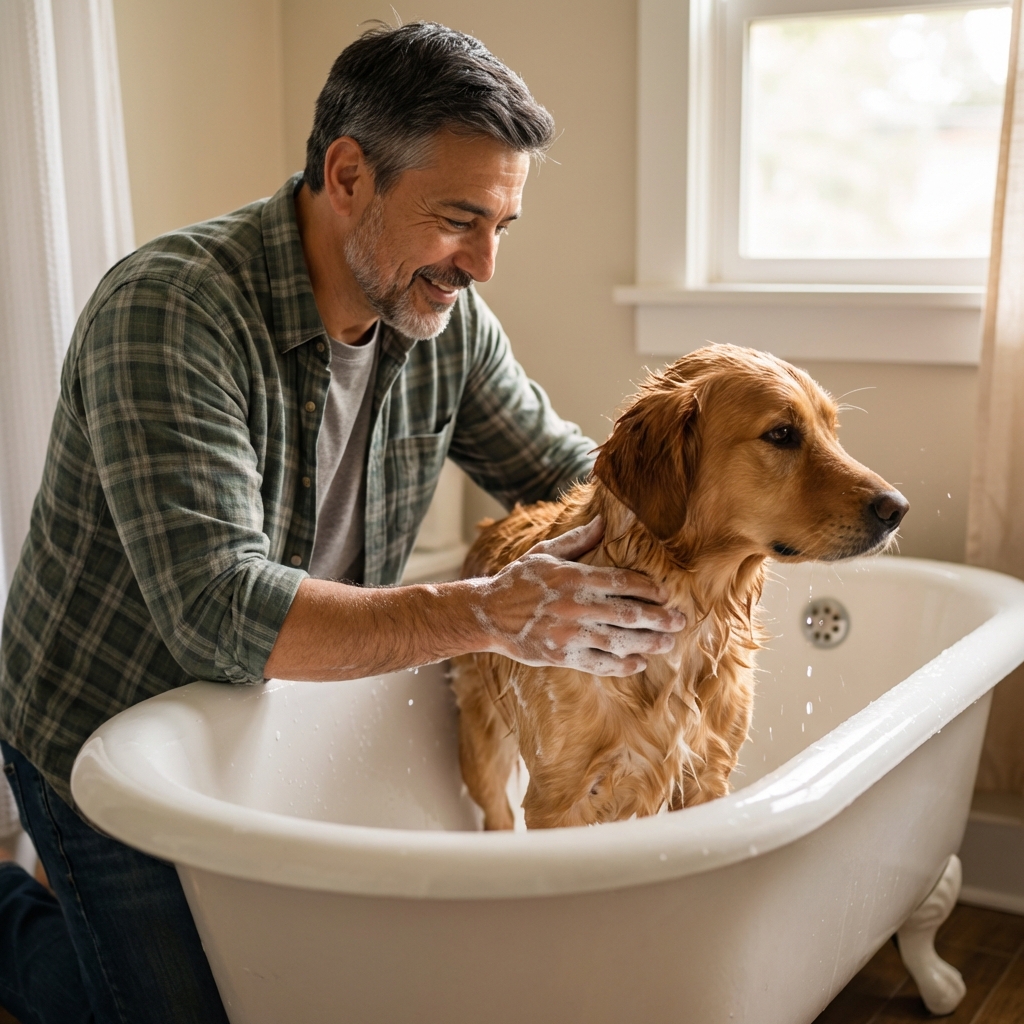
Dish soap bath for dogs
If you need a fast, old-school at-home knockdown for a dog, a gentle dish soap bath is one of the most common options. It can help remove and drown adult fleas on the coat. It does not prevent new fleas from jumping back on, so pair it with cleaning and follow-up.
Important: This is not a vet-approved flea treatment, and it can dry out or irritate skin. Use it as occasional emergency relief, not as your main long-term plan.
What you need
- Regular blue Dawn dish soap or another plain, unscented grease-cutting dish soap
- Warm water
- Flea comb
- Towels
Steps
- Start with a “soap collar”: Put a thin ring of dish soap around your dog’s neck first. This helps stop fleas from racing to the face and ears.
- Wet the coat: Use warm water and saturate the fur down to the skin.
- Lather well: Work soap through the body, especially tail base, belly, and armpits.
- Wait 5 minutes: Keep your dog warm and calm. Do not push longer if skin is sensitive.
- Rinse thoroughly: Any residue can irritate skin.
- Comb: Use a flea comb while the coat is damp. Dip the comb in soapy water to trap fleas.
- Dry and wash towels right away: Wash hot; dry on high heat if possible.
Do not use this on cats unless your vet tells you it is okay. Cats groom constantly and are more sensitive to products left on the coat.
Also check with your vet first if your dog is a very young puppy, elderly, pregnant or nursing, has active dermatitis, open sores, or a history of skin reactions.
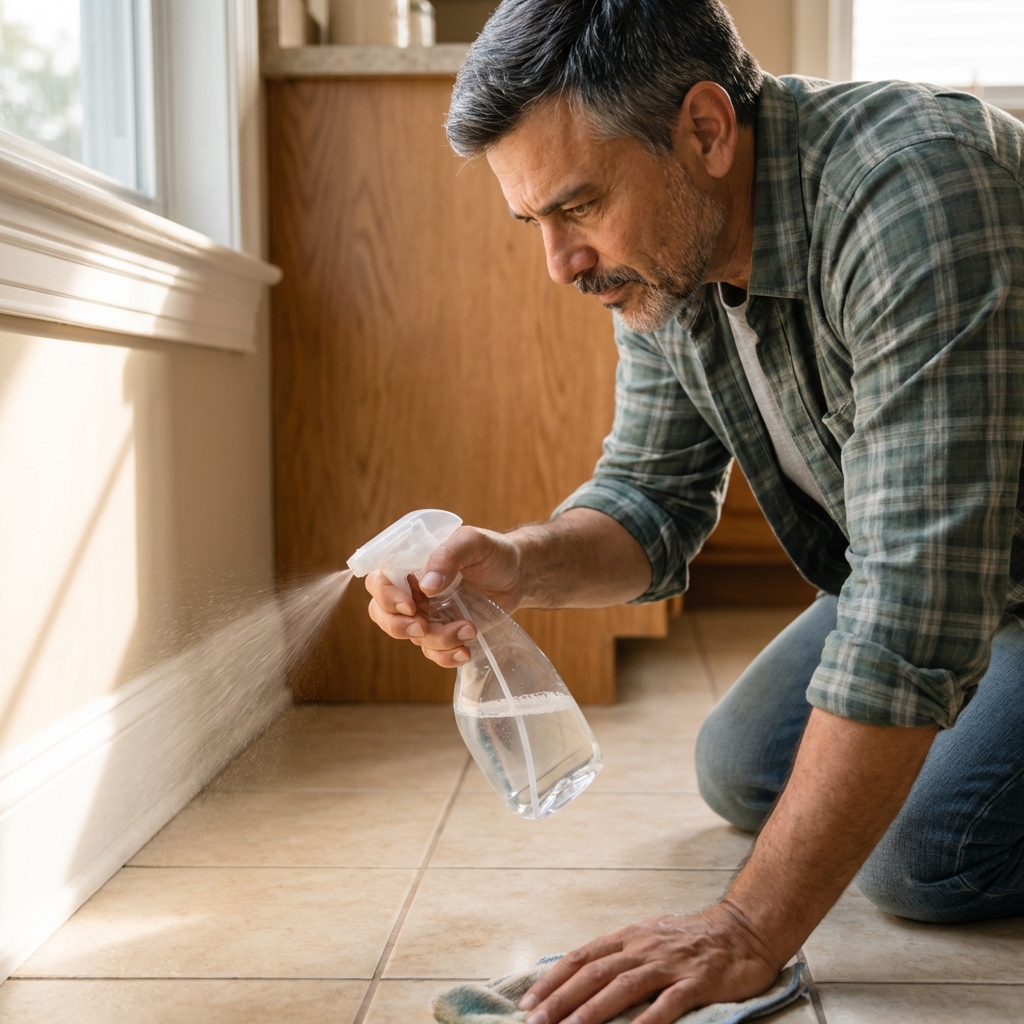
Vinegar spray for surfaces
Vinegar is a classic household staple people reach for. It is not a reliable flea killer, and evidence that it repels fleas is mixed. Where it can help is as a deodorizing wipe-down and a light “make this area less appealing” step on hard surfaces around pet zones.
Mix
- Equal parts white vinegar and water in a spray bottle
How to use it safely
- Lightly mist hard floors, baseboards, and pet crates, then wipe dry.
- Do not soak wood floors or natural stone.
- Spot test upholstery first. Some fabrics can discolor.
- Keep pets out of the area until it dries.
- Watch for slippery floors right after misting.
- Never mix vinegar with bleach-based cleaners (or spray it on a surface that still has bleach on it).
This is a support step. Your vacuum and laundry are what break the cycle.
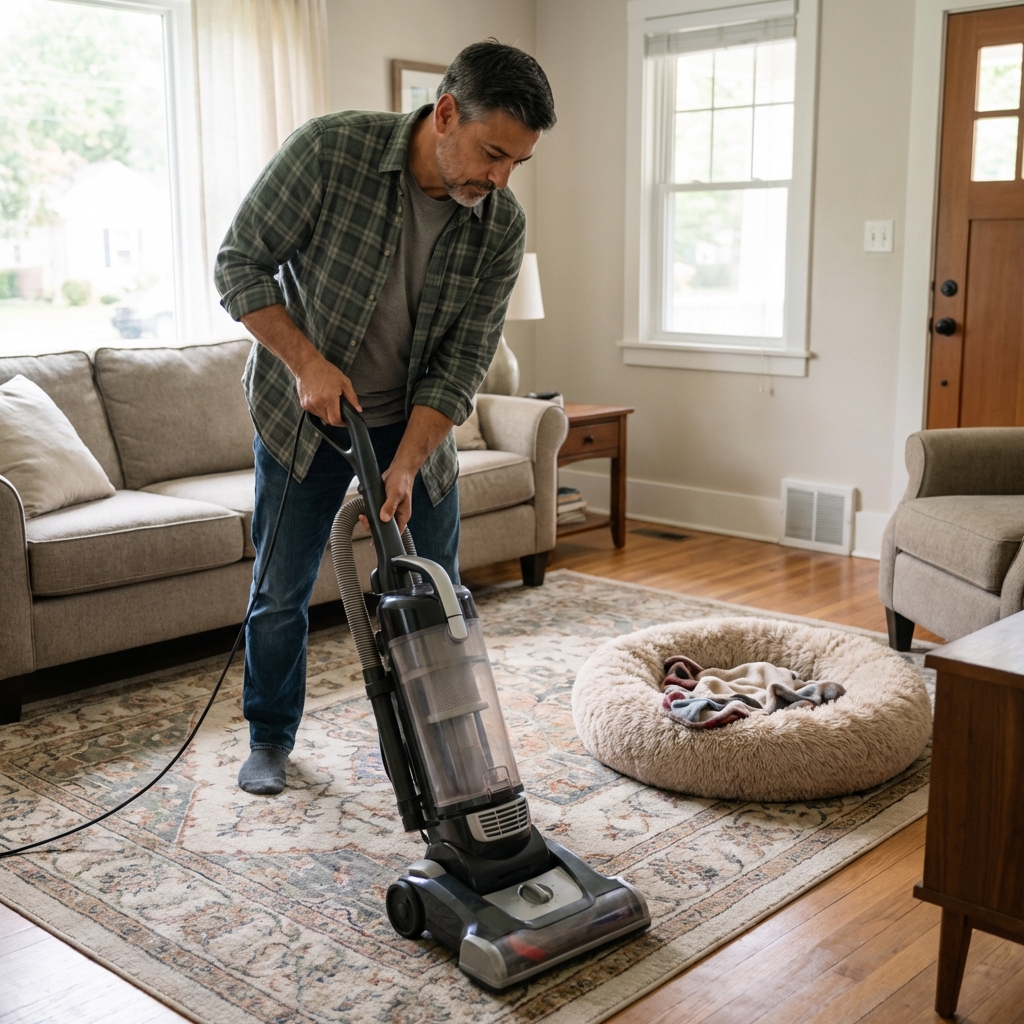
What actually works: vacuum and hot laundry
If you only do one thing besides treating your pet, do this. Consistent cleaning removes eggs and larvae and can stimulate some pupae to emerge (vibration), which helps you catch new adults before they reproduce. Even with perfect cleaning, some pupae may keep emerging for weeks, so consistency matters.
Vacuum plan (2 weeks minimum)
- Daily for the first week in the worst areas (pet sleeping spots, rugs, couch).
- Then every other day for the second week.
- Use the crevice tool along baseboards, under furniture, and under cushions.
- Do not forget fabric furniture, pet carriers, and the car if your pet rides with you.
Vacuum disposal tip: For bagged vacuums, remove and toss the bag promptly. For bagless, empty the canister outside immediately and seal debris in a bag before tossing. If your model allows, wash the canister and check or replace filters, since eggs and debris can cling.
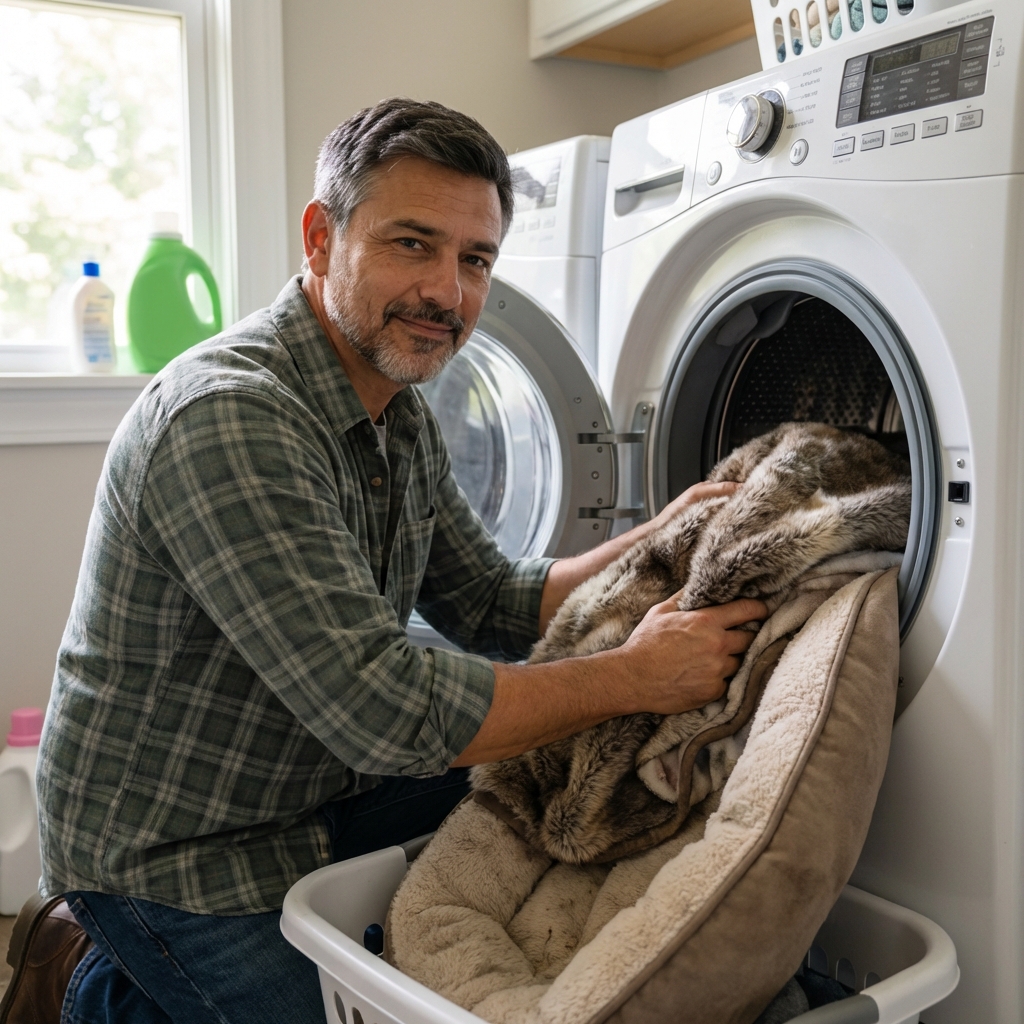
Laundry plan
- Wash pet bedding, throw blankets, and removable covers in hot water if the fabric allows.
- Dry on high heat for at least 30 to 40 minutes when possible.
- Repeat every few days during the first two weeks.
Diatomaceous earth (optional)
Food-grade diatomaceous earth (DE) is a dry powder that can damage insect exoskeletons and dehydrate them. It can help in cracks and dry areas, but it is not instant. Also, food-grade is still a respiratory irritant. The main risk is breathing the dust.
DE also works best when it stays dry. In humid areas or damp spaces, it tends to clump and becomes less effective.
How to use it
- Choose food-grade, not pool grade.
- Apply a very light dusting into cracks, under baseboards, and under appliances. Less is better.
- Keep pets and kids out while applying. Avoid creating dust clouds.
- Let it sit 12 to 48 hours, then vacuum thoroughly.
Skip DE if anyone in the home has asthma or respiratory sensitivity unless you can apply it in a way that stays fully out of the air.
What to avoid
- Essential oils on pets: Tea tree, peppermint, eucalyptus, and citrus oils can be toxic, especially to cats. Even “natural” does not mean safe.
- Garlic or supplements: Not a reliable flea fix and can be unsafe at certain doses.
- Alcohol sprays: Fire risk, skin irritation, and not a good indoor plan.
- Over-bathing: Frequent soap baths can dry out skin and make itching worse.
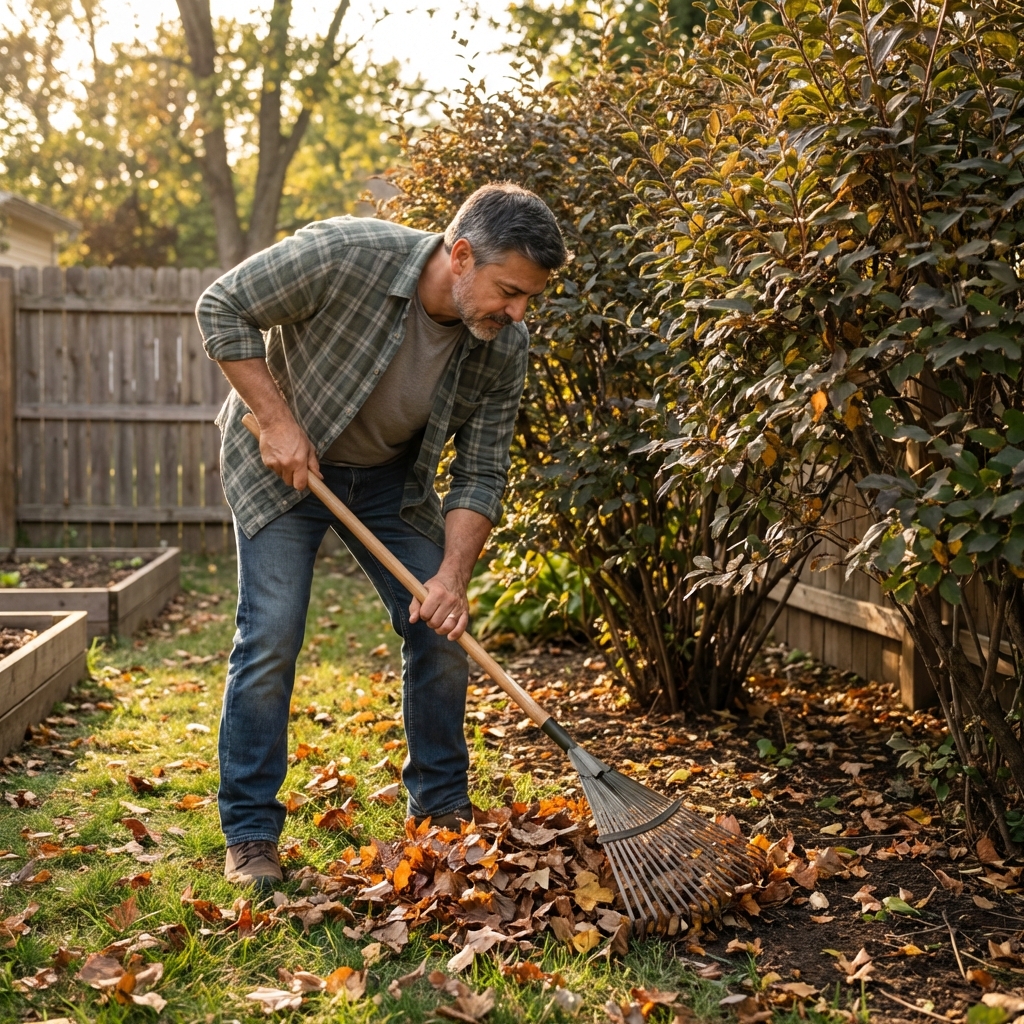
Yard support
If your pet picks up fleas outside, the yard is part of the loop. You do not have to nuke your whole lawn, but do address the shady, damp places fleas love.
- Trim tall grass and weeds along fences.
- Rake out leaf litter under shrubs.
- Focus on pet hangout spots: under decks, dog runs, shaded corners.
- Water in the morning so the yard dries faster.
When homemade is not enough
If you are seeing fleas daily after a full week of consistent cleaning, or your pet is getting bitten up, it is time to level up. Modern vet-recommended preventatives and targeted home treatments are often the fastest way to stop the cycle, especially in heavy infestations.
Options to ask your vet about include:
- Vet-recommended flea preventatives for dogs and cats (topical or oral options).
- Home sprays with an insect growth regulator (IGR) to stop eggs and larvae from becoming biting adults. These are often the missing piece for indoor infestations.
Also call your vet promptly if you notice:
- Hair loss, scabs, intense itching, or hot spots (possible flea allergy dermatitis)
- Oozing, odor, swelling, or worsening redness (possible secondary skin infection)
- Pale gums or weakness (possible anemia, especially in kittens, puppies, and small pets)
- Tapeworm segments (fleas can transmit tapeworms)
Quick start checklist
- Today: Treat the pet (dog bath for short-term relief or a vet-recommended product), wash bedding, vacuum thoroughly.
- Next 7 days: Vacuum daily in hot zones, keep laundry rotating, comb-check pets.
- Week 2: Vacuum every other day, re-wash bedding, keep monitoring.
- Anytime: If fleas persist, or your pet is uncomfortable, contact your vet for a prevention plan and consider an IGR home treatment.
Fleas are annoying, but they are beatable when you treat the pet and the home at the same time. Stay consistent, and if it takes longer than two weeks to fully clear, do not assume you failed. That is often just the pupae stage finally finishing its run.

Jose Brito
I’m Jose Britto, the writer behind Green Beans N More. I share practical, down-to-earth gardening advice for home growers—whether you’re starting your first raised bed, troubleshooting pests, improving soil, or figuring out what to plant next. My focus is simple: clear tips you can actually use, realistic expectations, and methods that work in real backyards (not just in perfect conditions). If you like straightforward guidance and learning as you go, you’re in the right place.